
My pipe making journey starts here!
I suppose I dont count this one so much as the majority of the work was done for me, but im still happy with it as a first attempt!
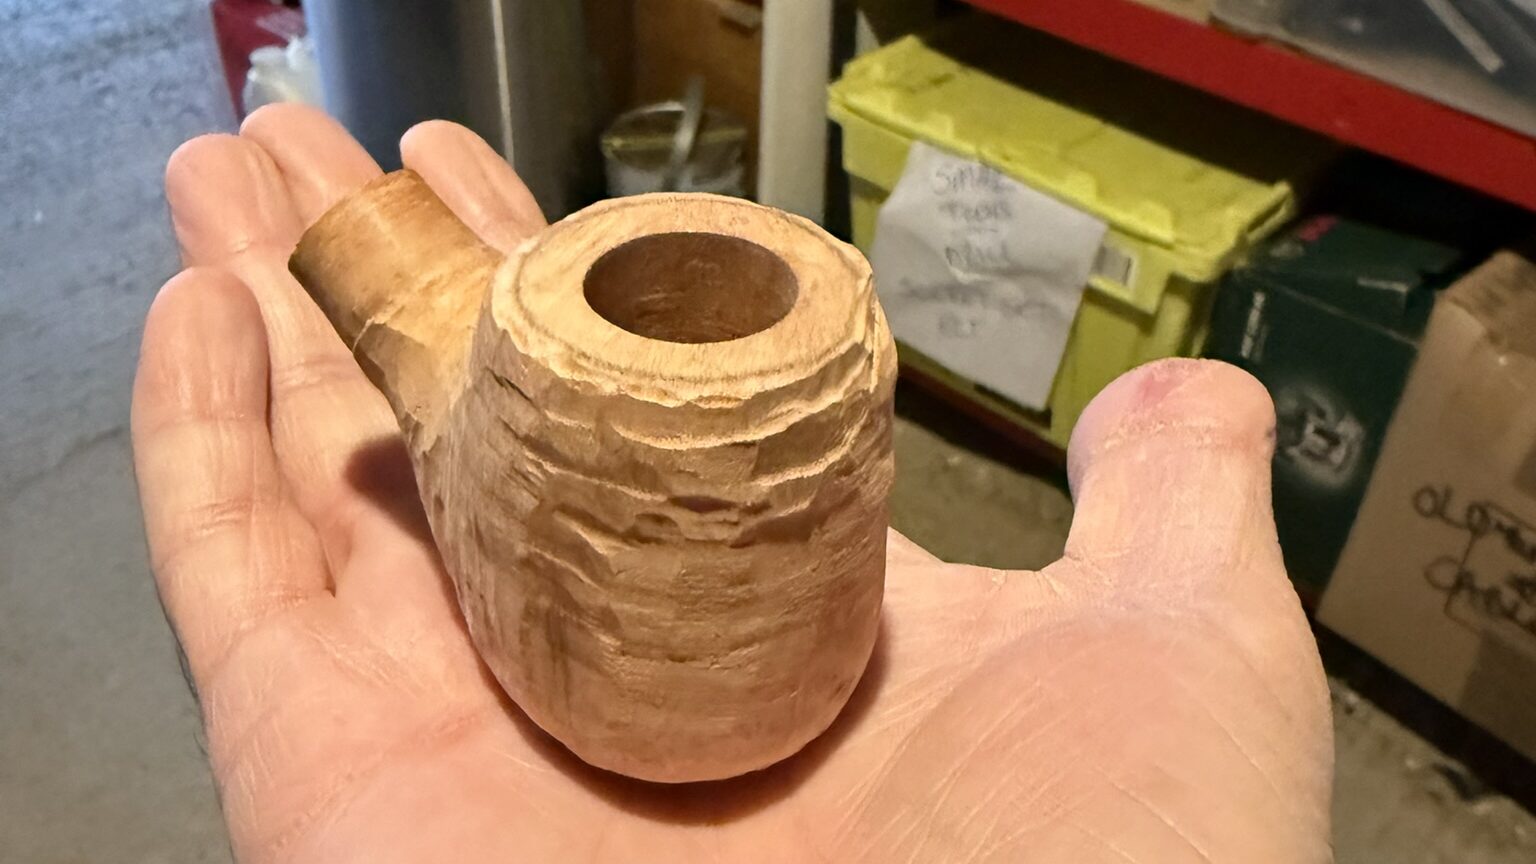
After much reading and watching regarding the world of pipemaking, I figured it was time to dive in. For my first attempt I found a pre-cut and drilled kit by Molina (find them here) which comes with the end of the shank pre-turned and the chamber and draught holes drilled nicely. All you need to do it get carving and finish it up how you like!
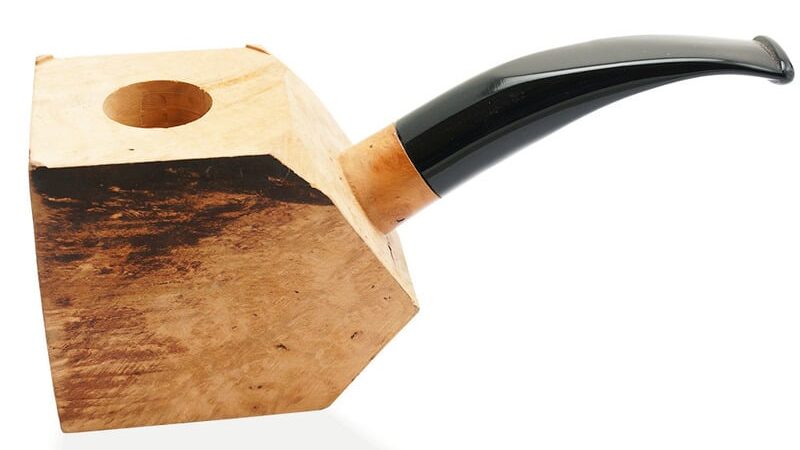
I personally like bent shapes more, so I went for the bent ‘make-your-own’.
As the drilling had already been done, it was just a case of getting the Dremel out and chomping away at the block to get some kind of shape to appear.
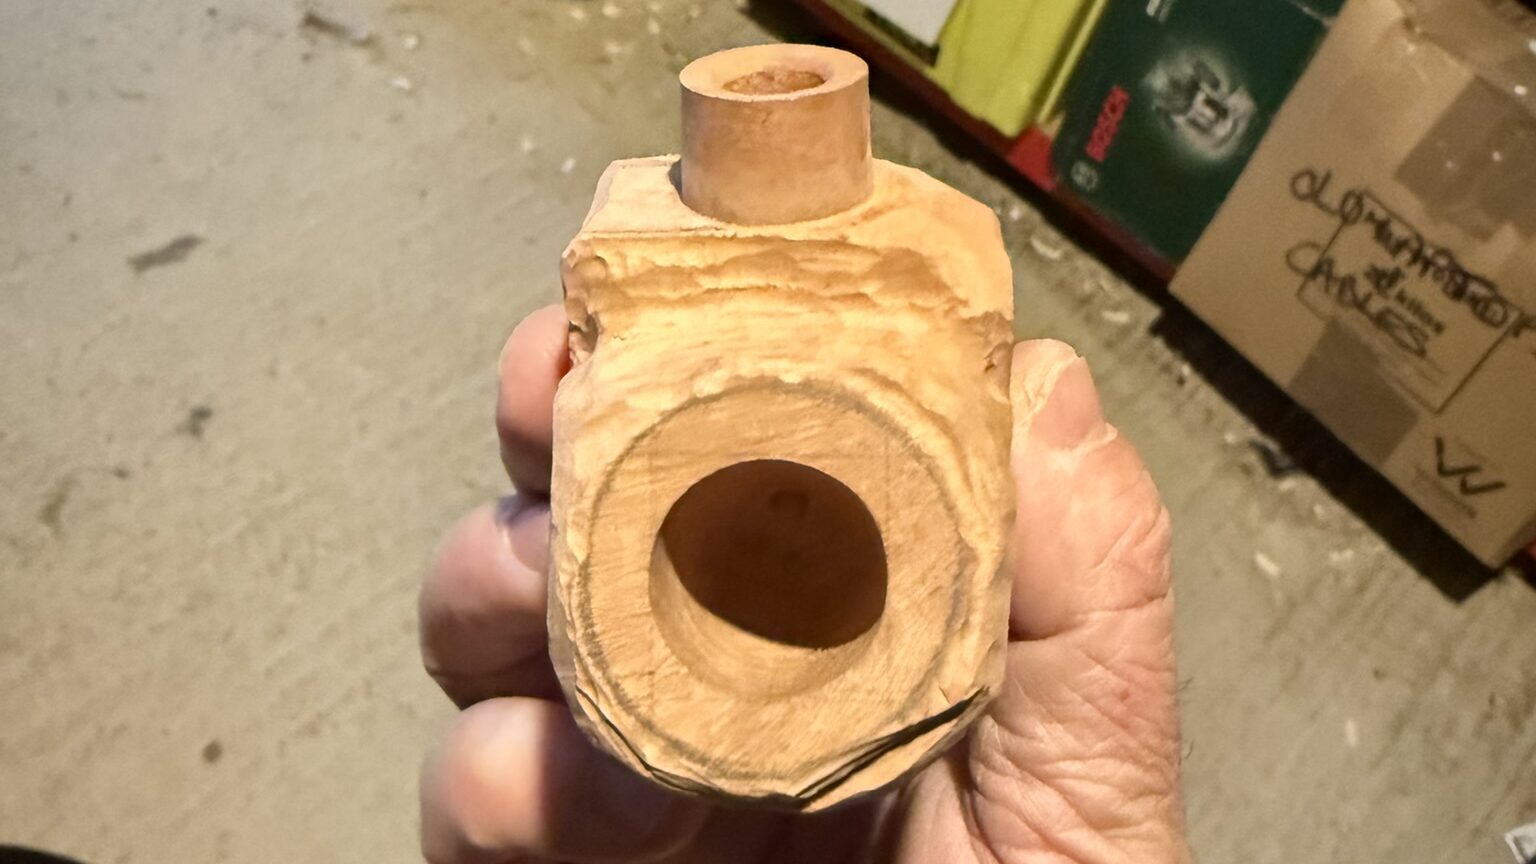
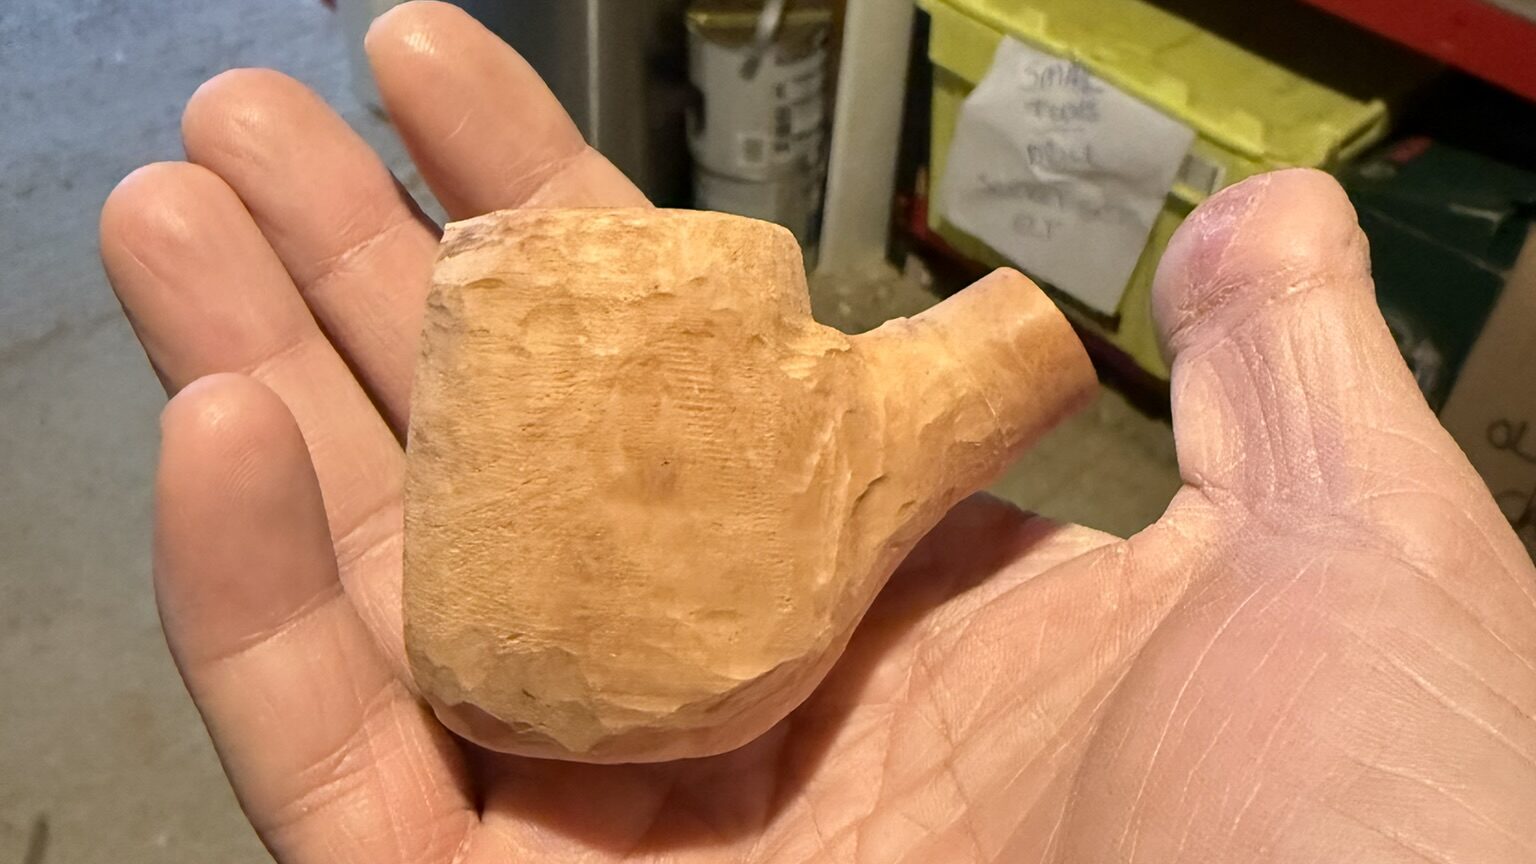
This was my first time using a Dremel for woodcarving, and I was surprised at how well it worked and how it didn’t take too long to get a bit of a feel of how to use it for this purpose.
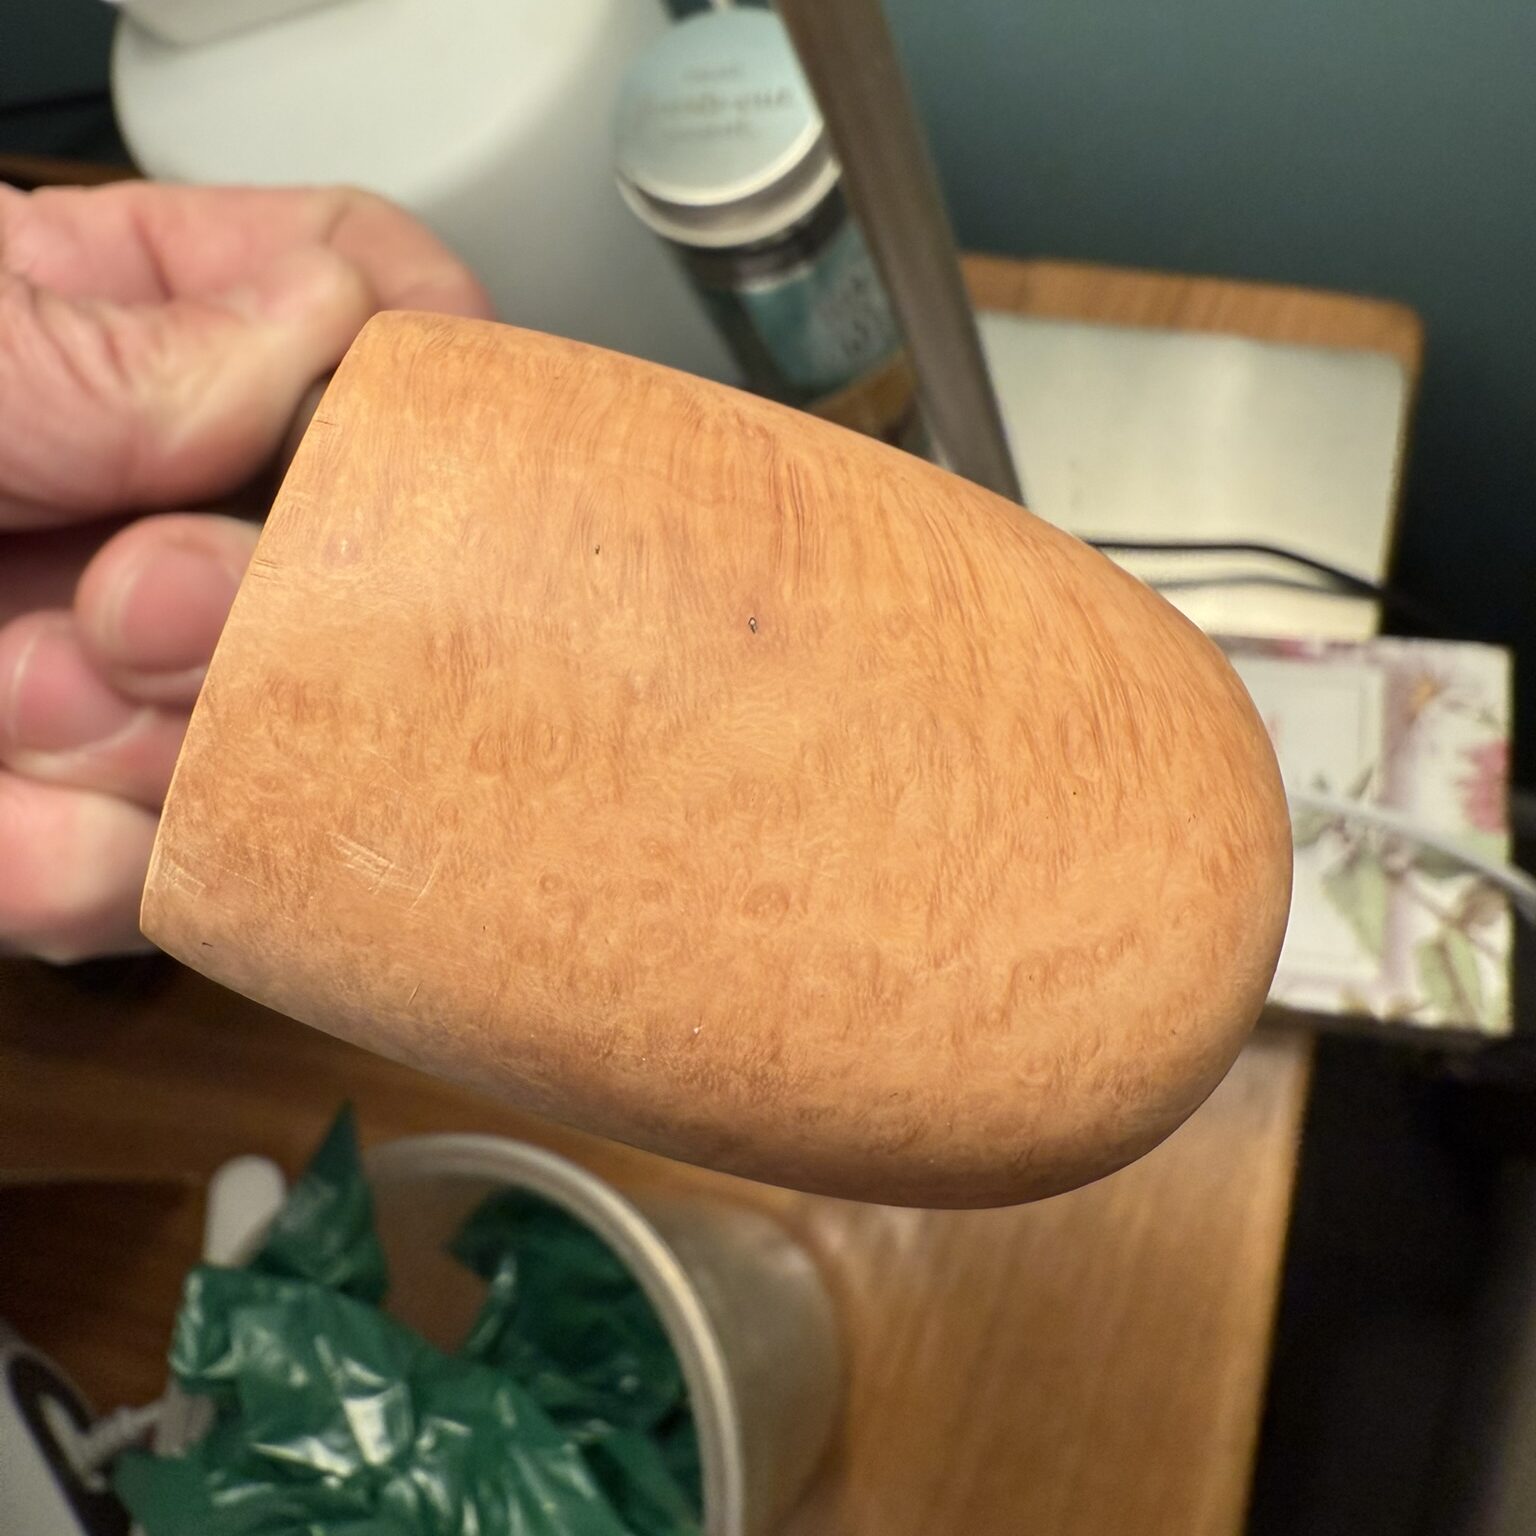
It surprised me how quickly a shape started to show itself from the block as I worked. There’s something to these rough stages that I quite like the look of, it’s almost a rustic finish in it’s own right.
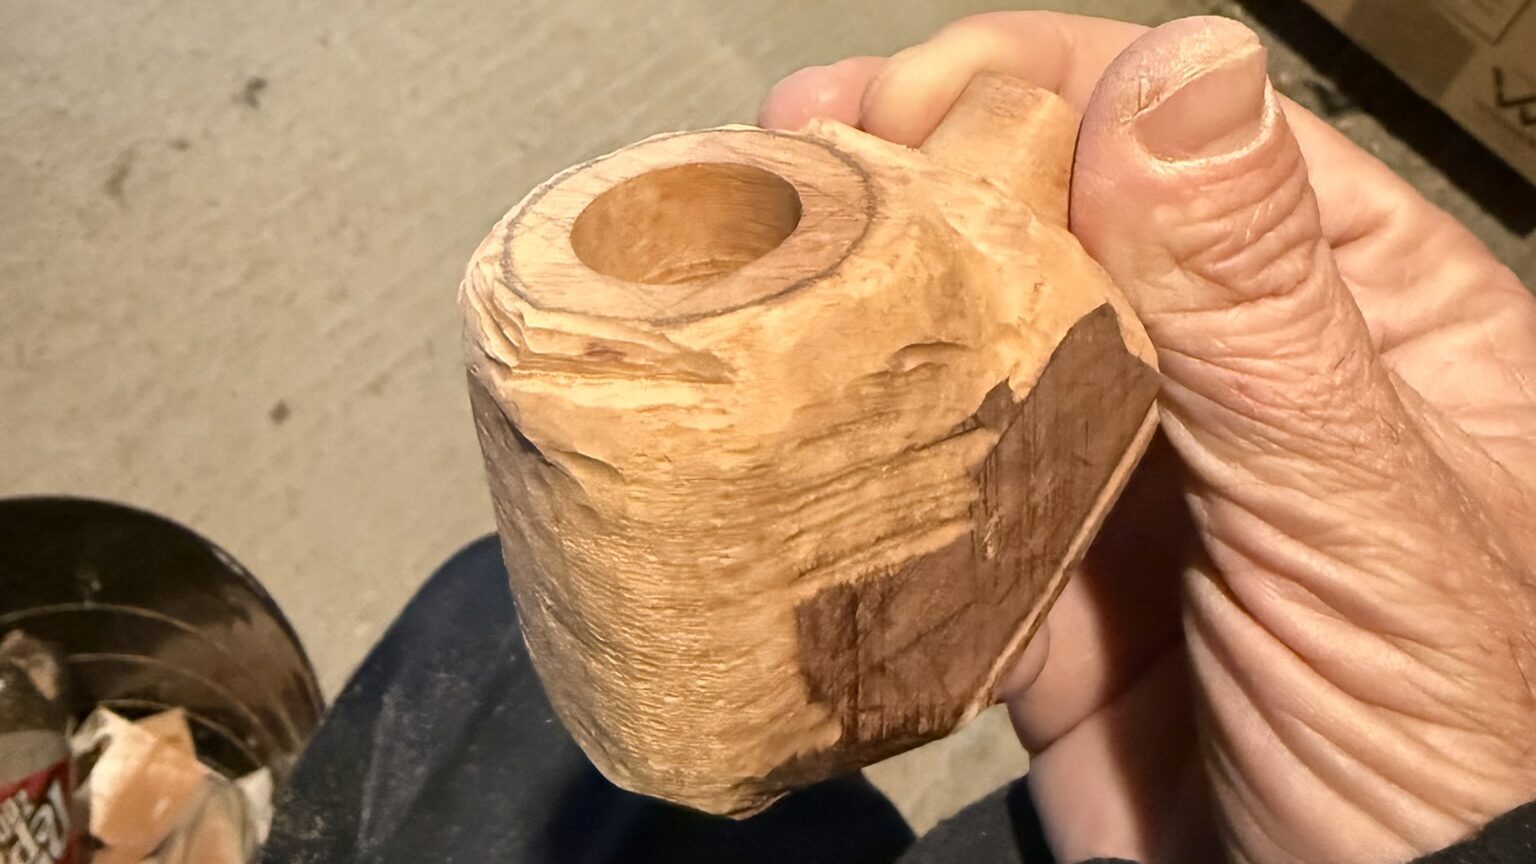
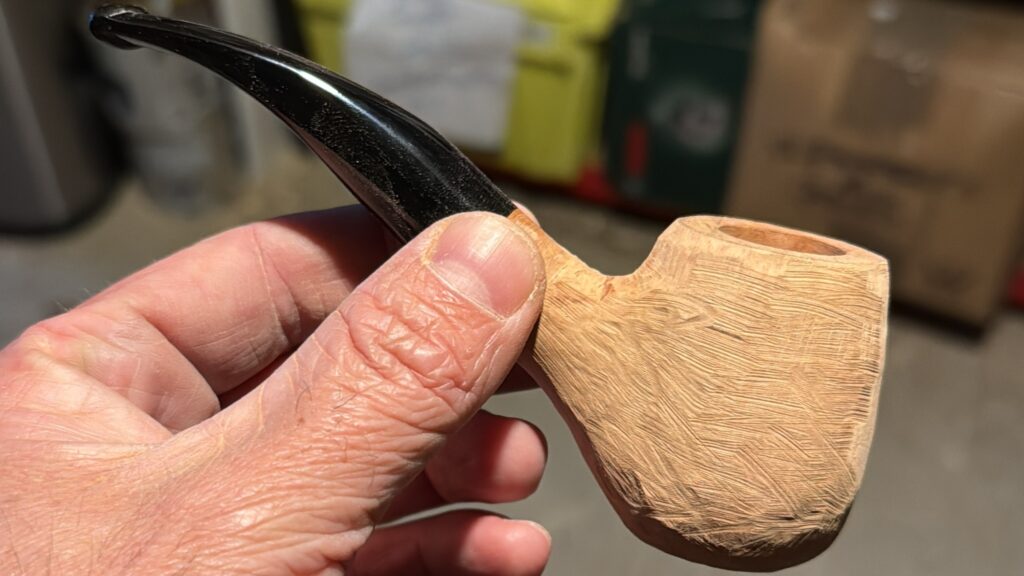
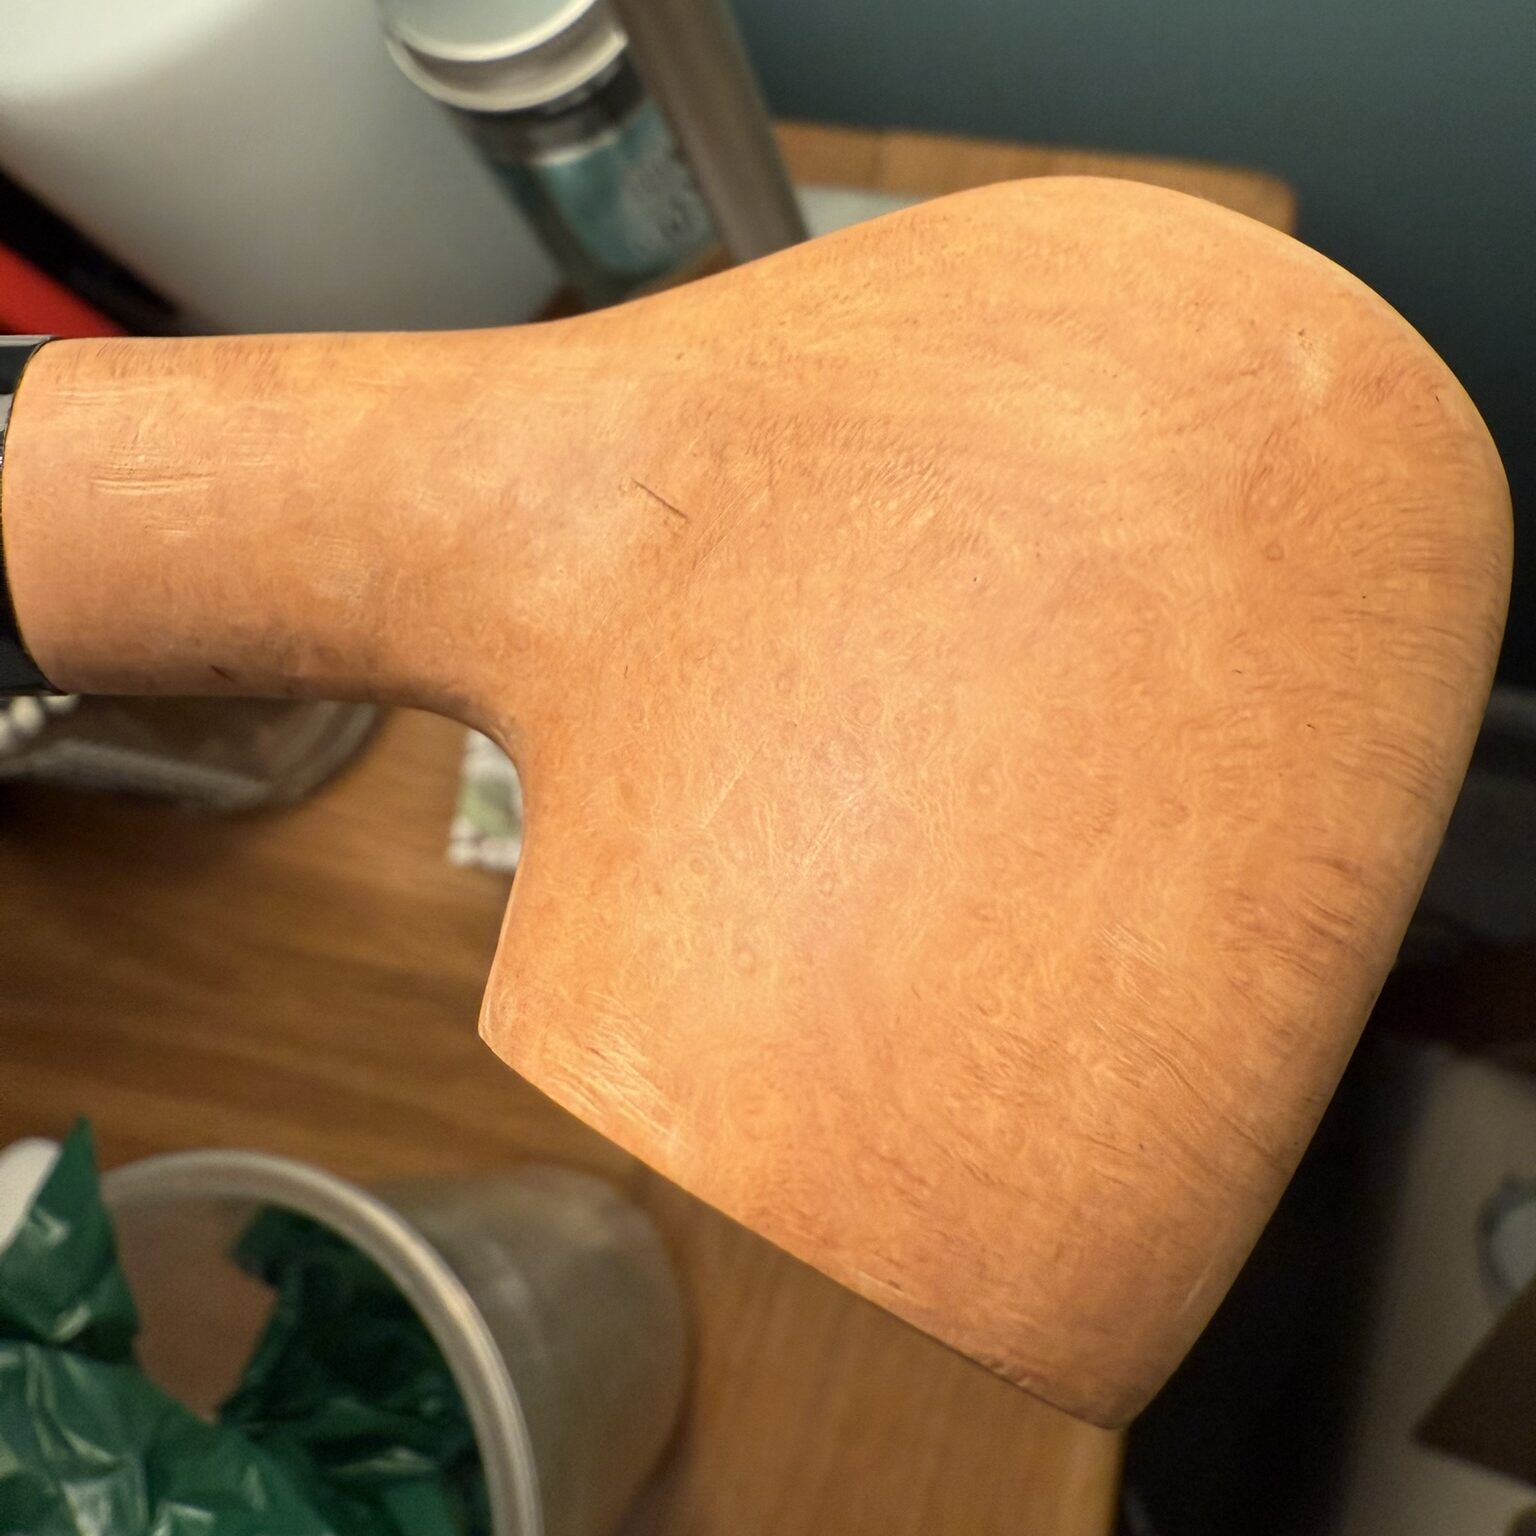
At this point I switched from the MAX Carving Bits over to sanding drums to start smoothing out the shape and getting it to more of a final shape.
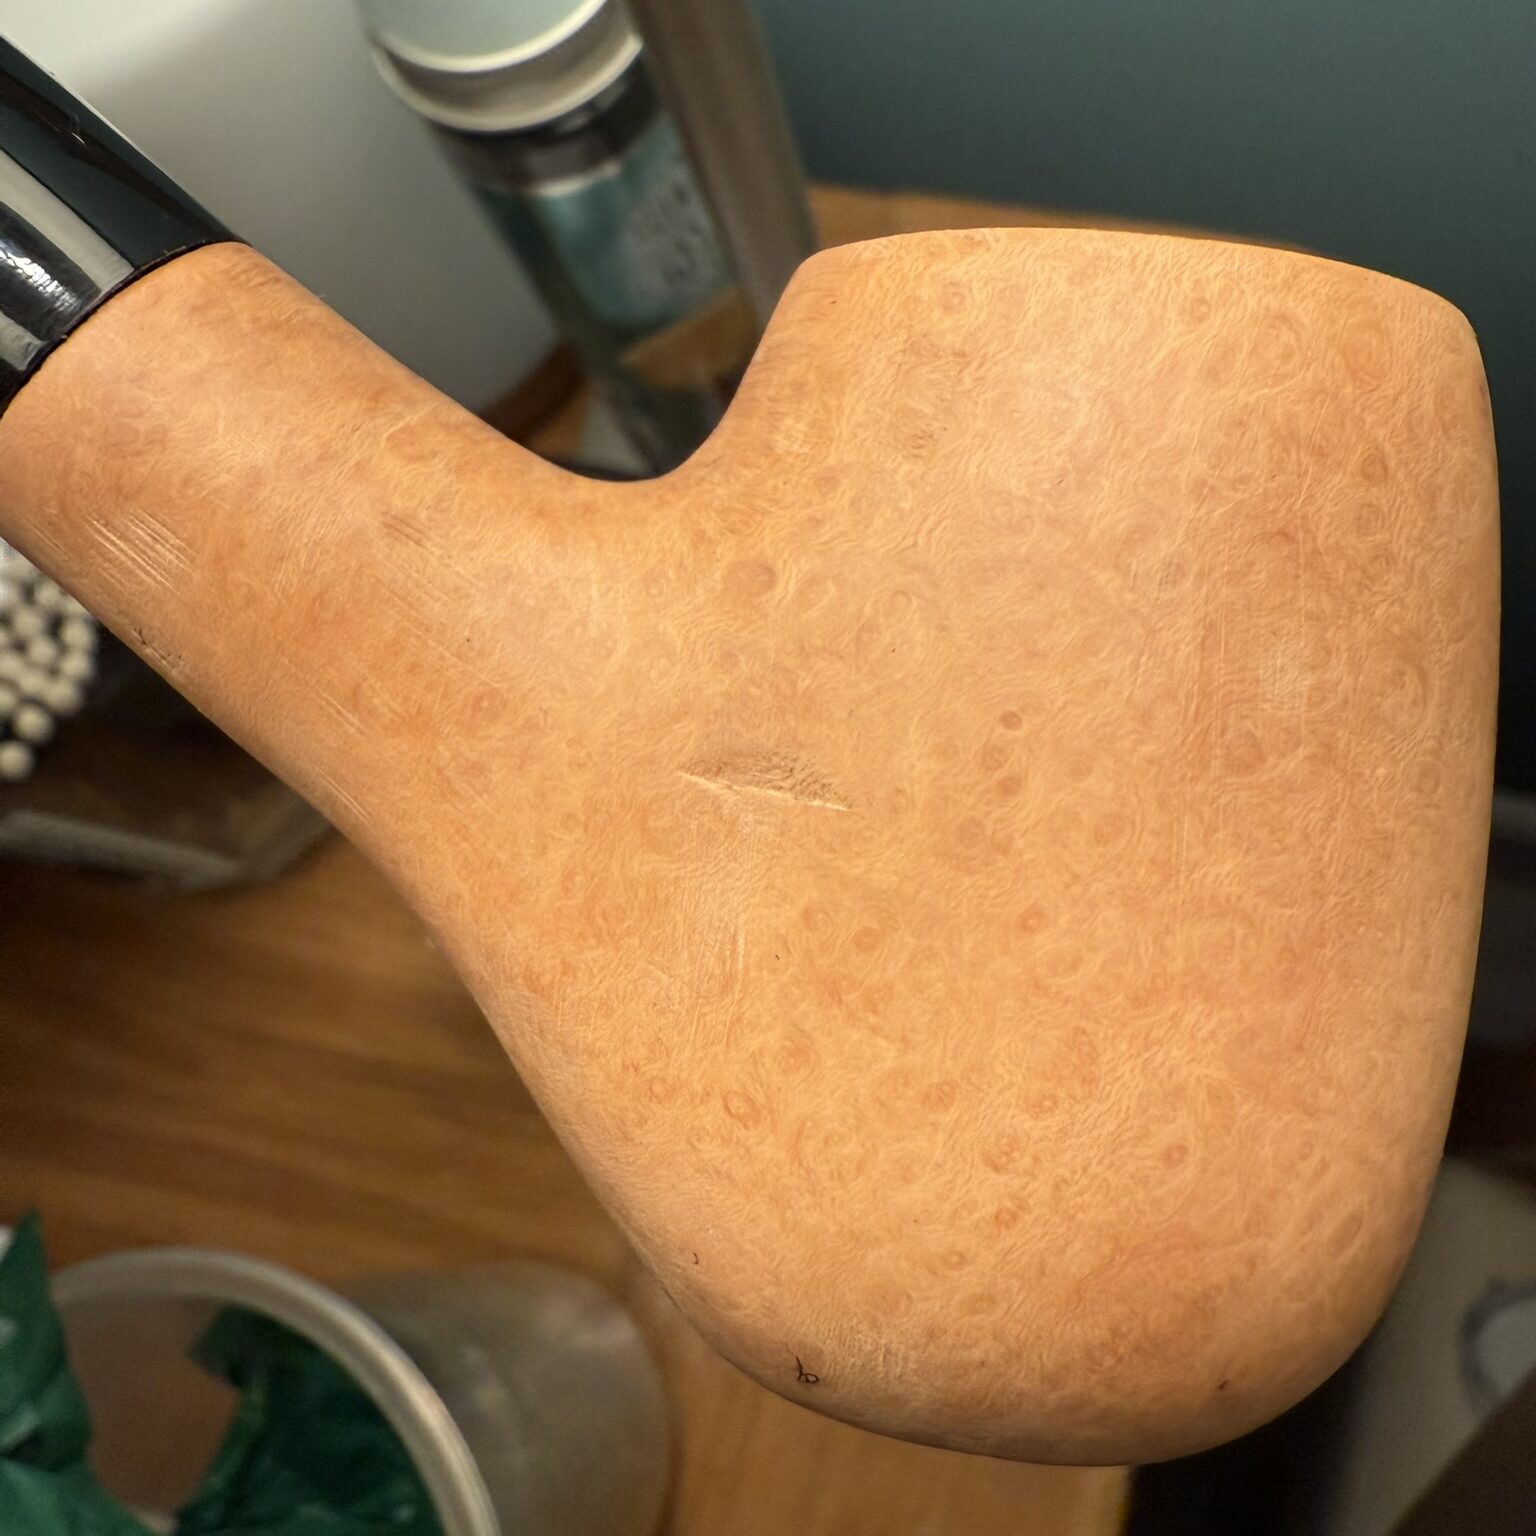
Here you can see the Pipe taking much more of a final shape. As mentioned before, I actually really liked the look of the pipe at this stage as a bit of a rustic style, but perhaps I can experiment with that in future.
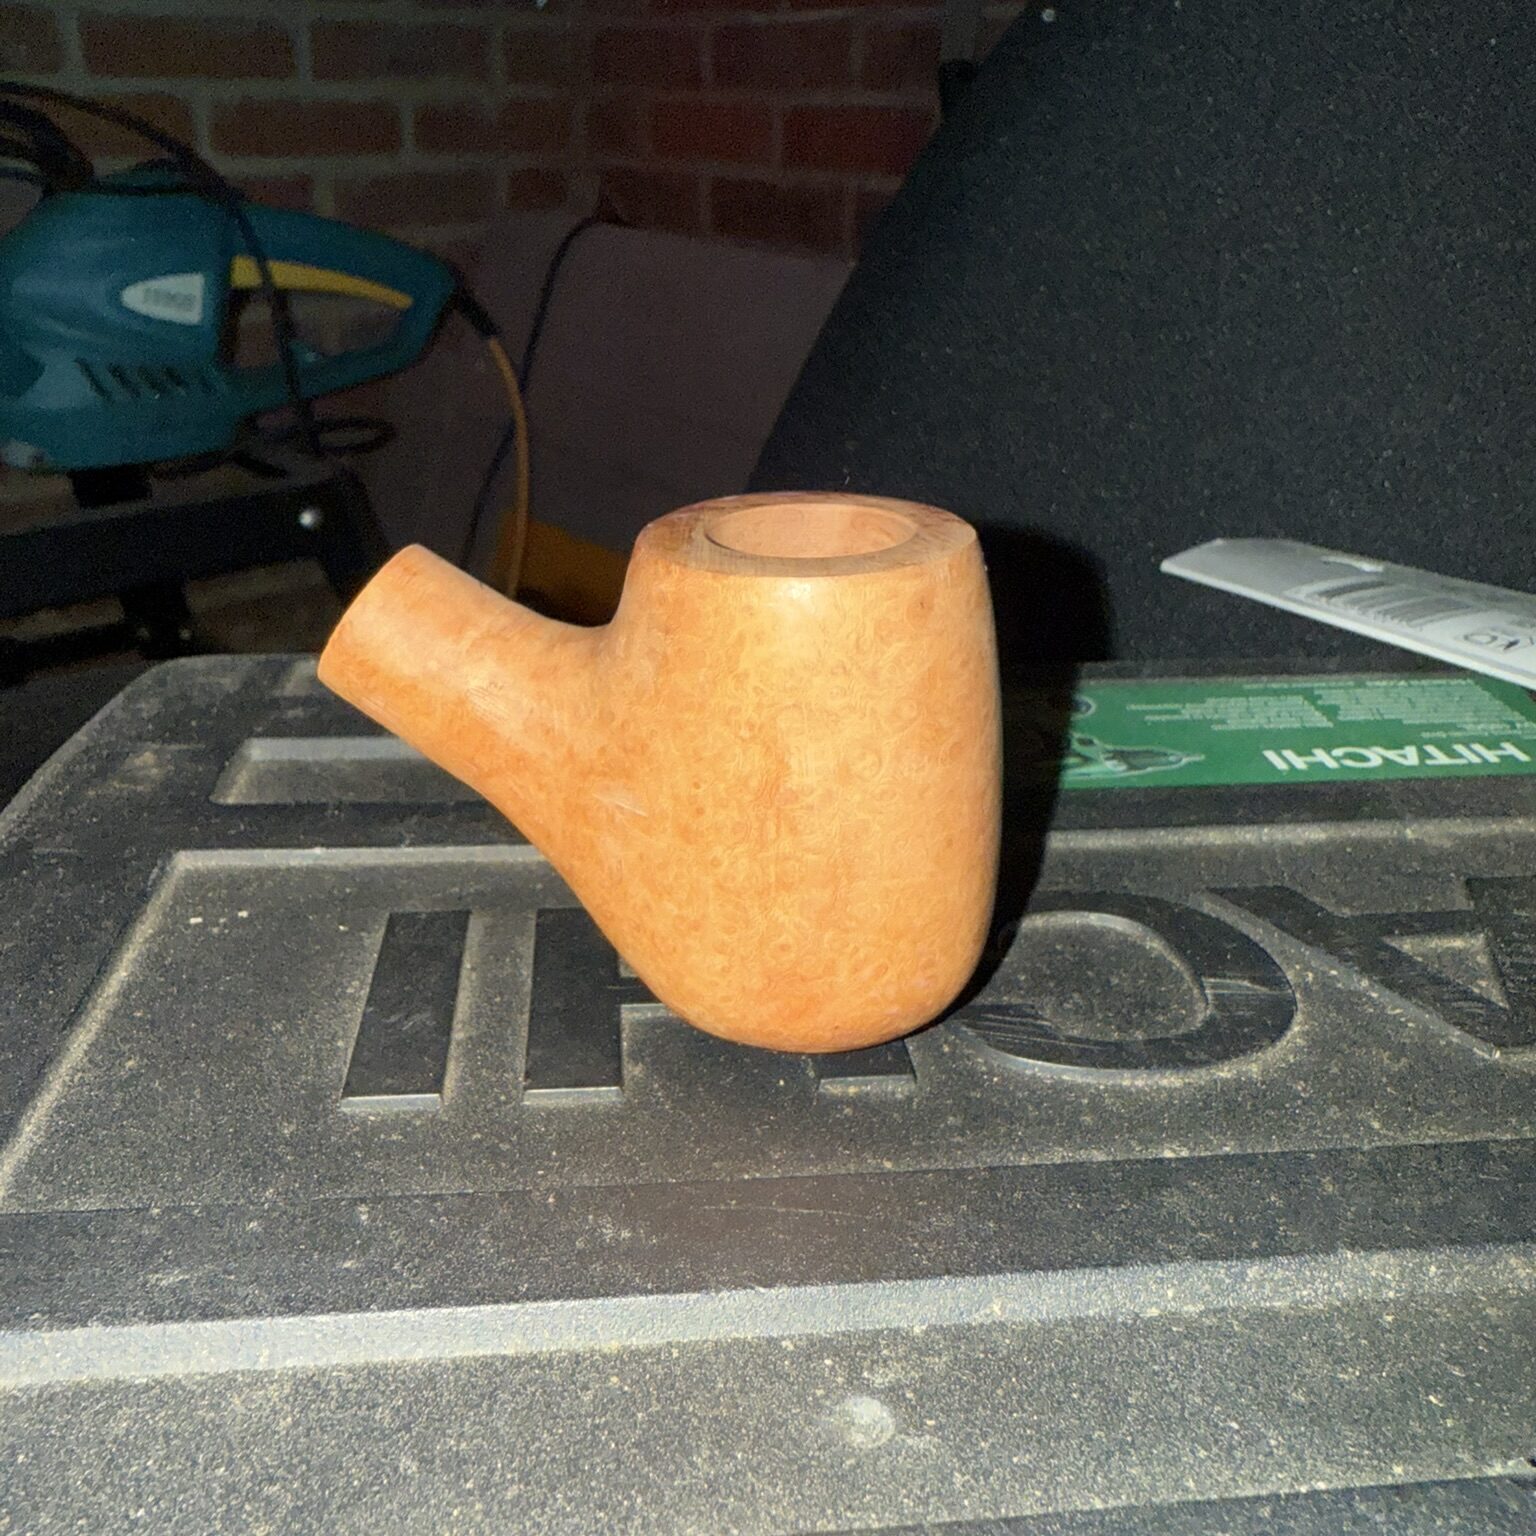
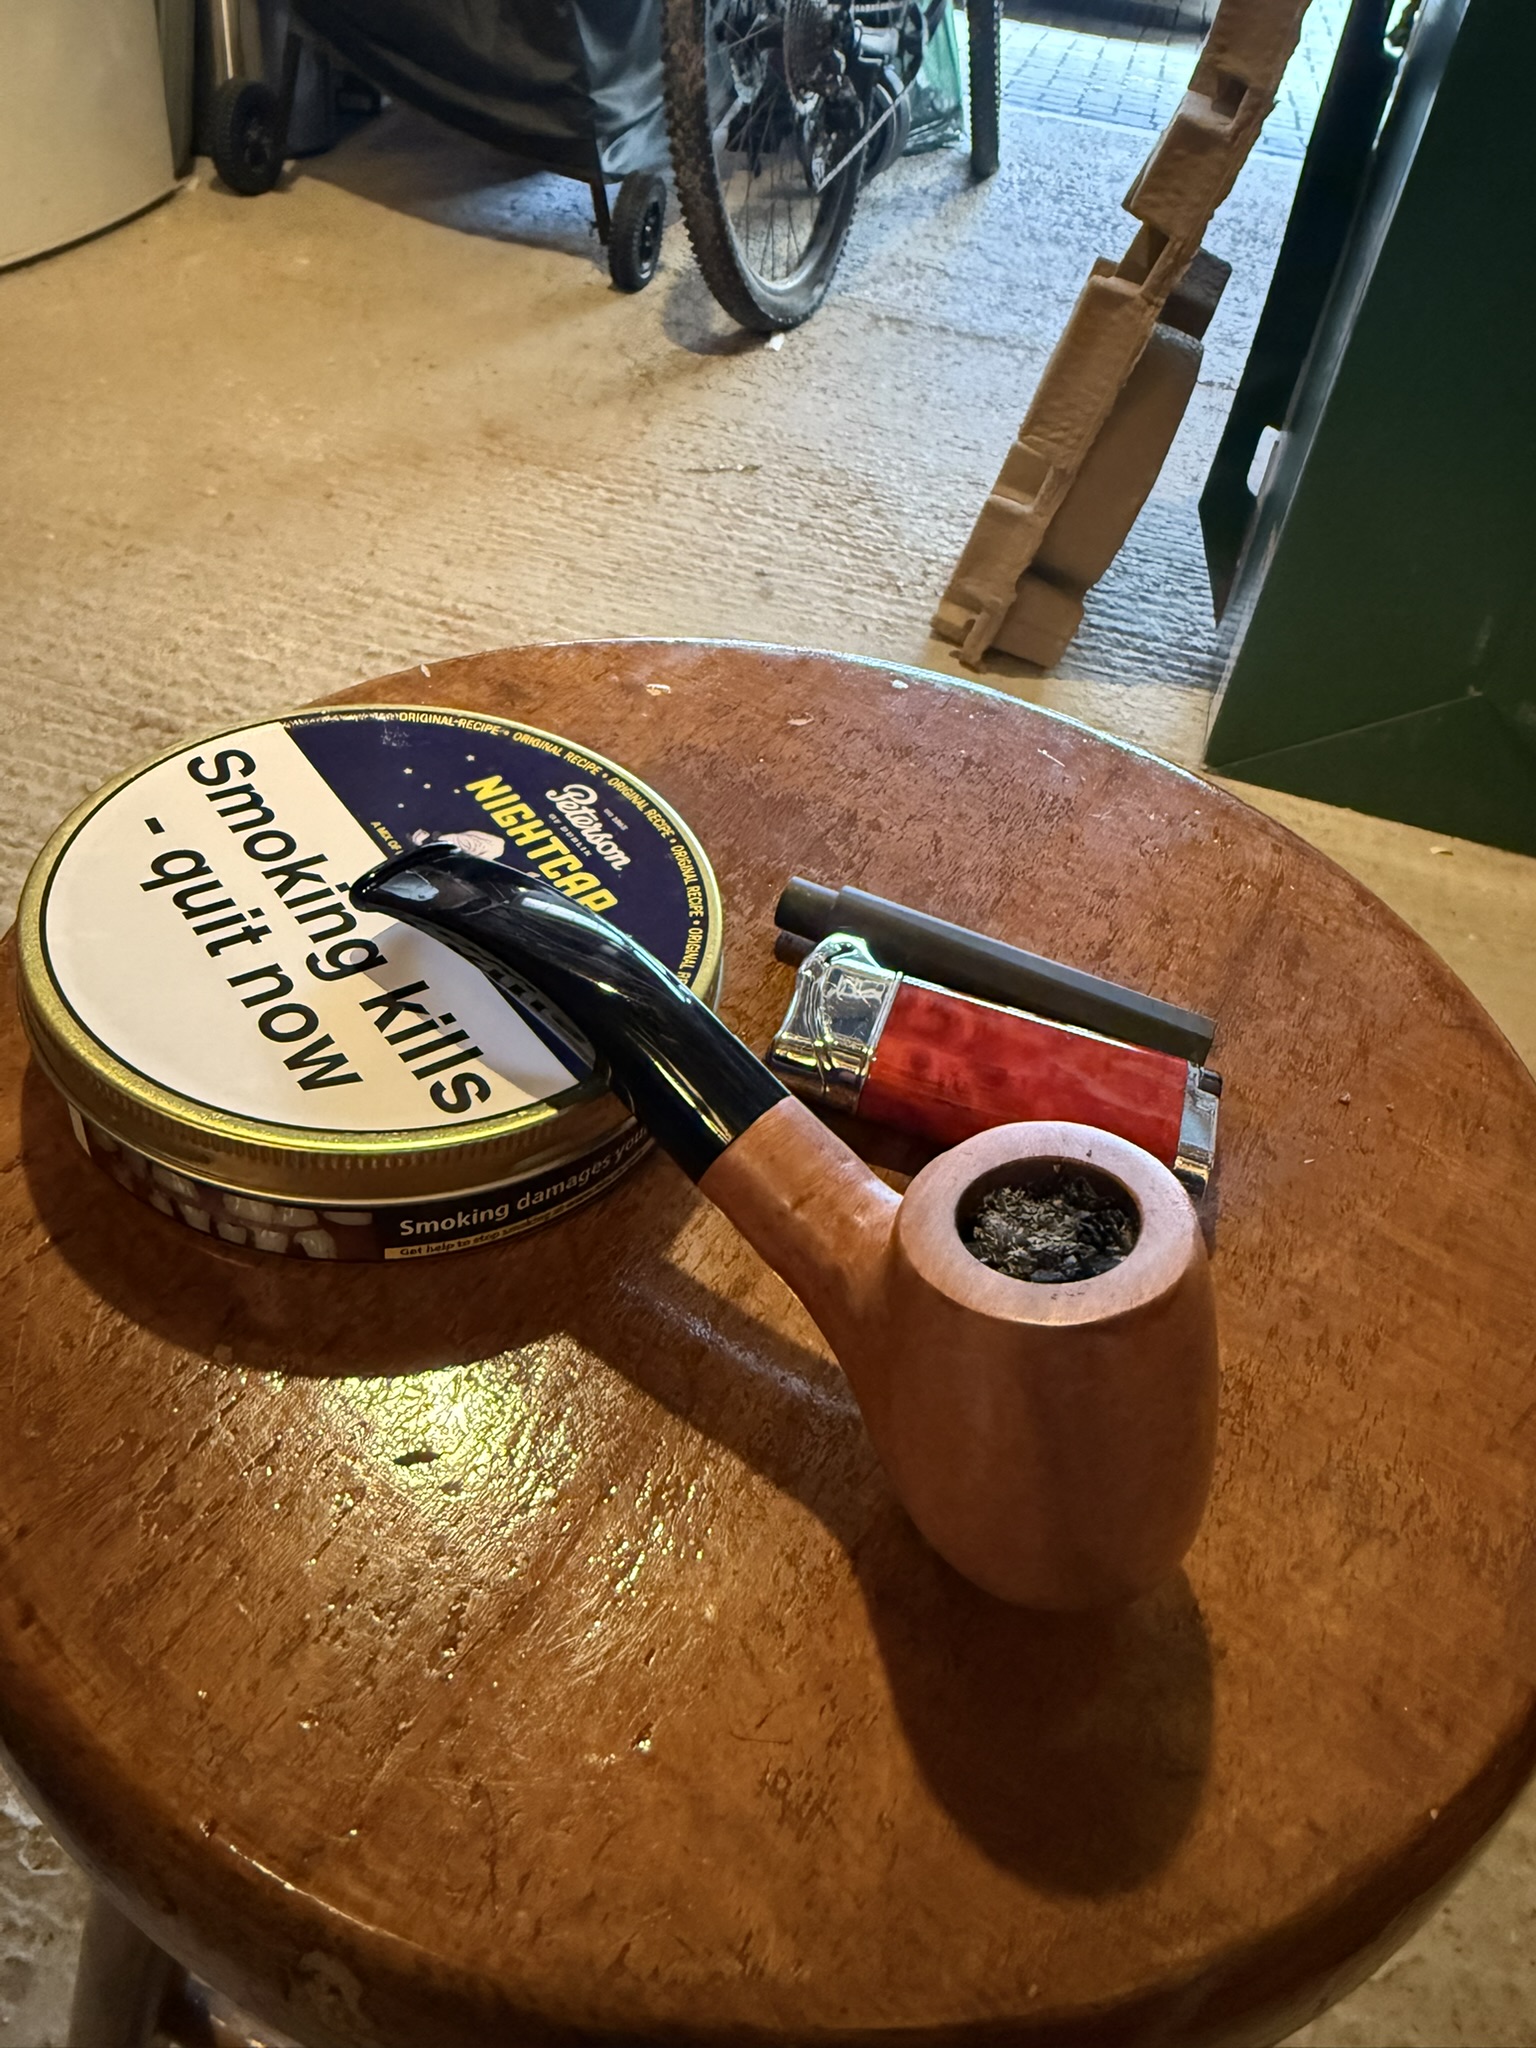
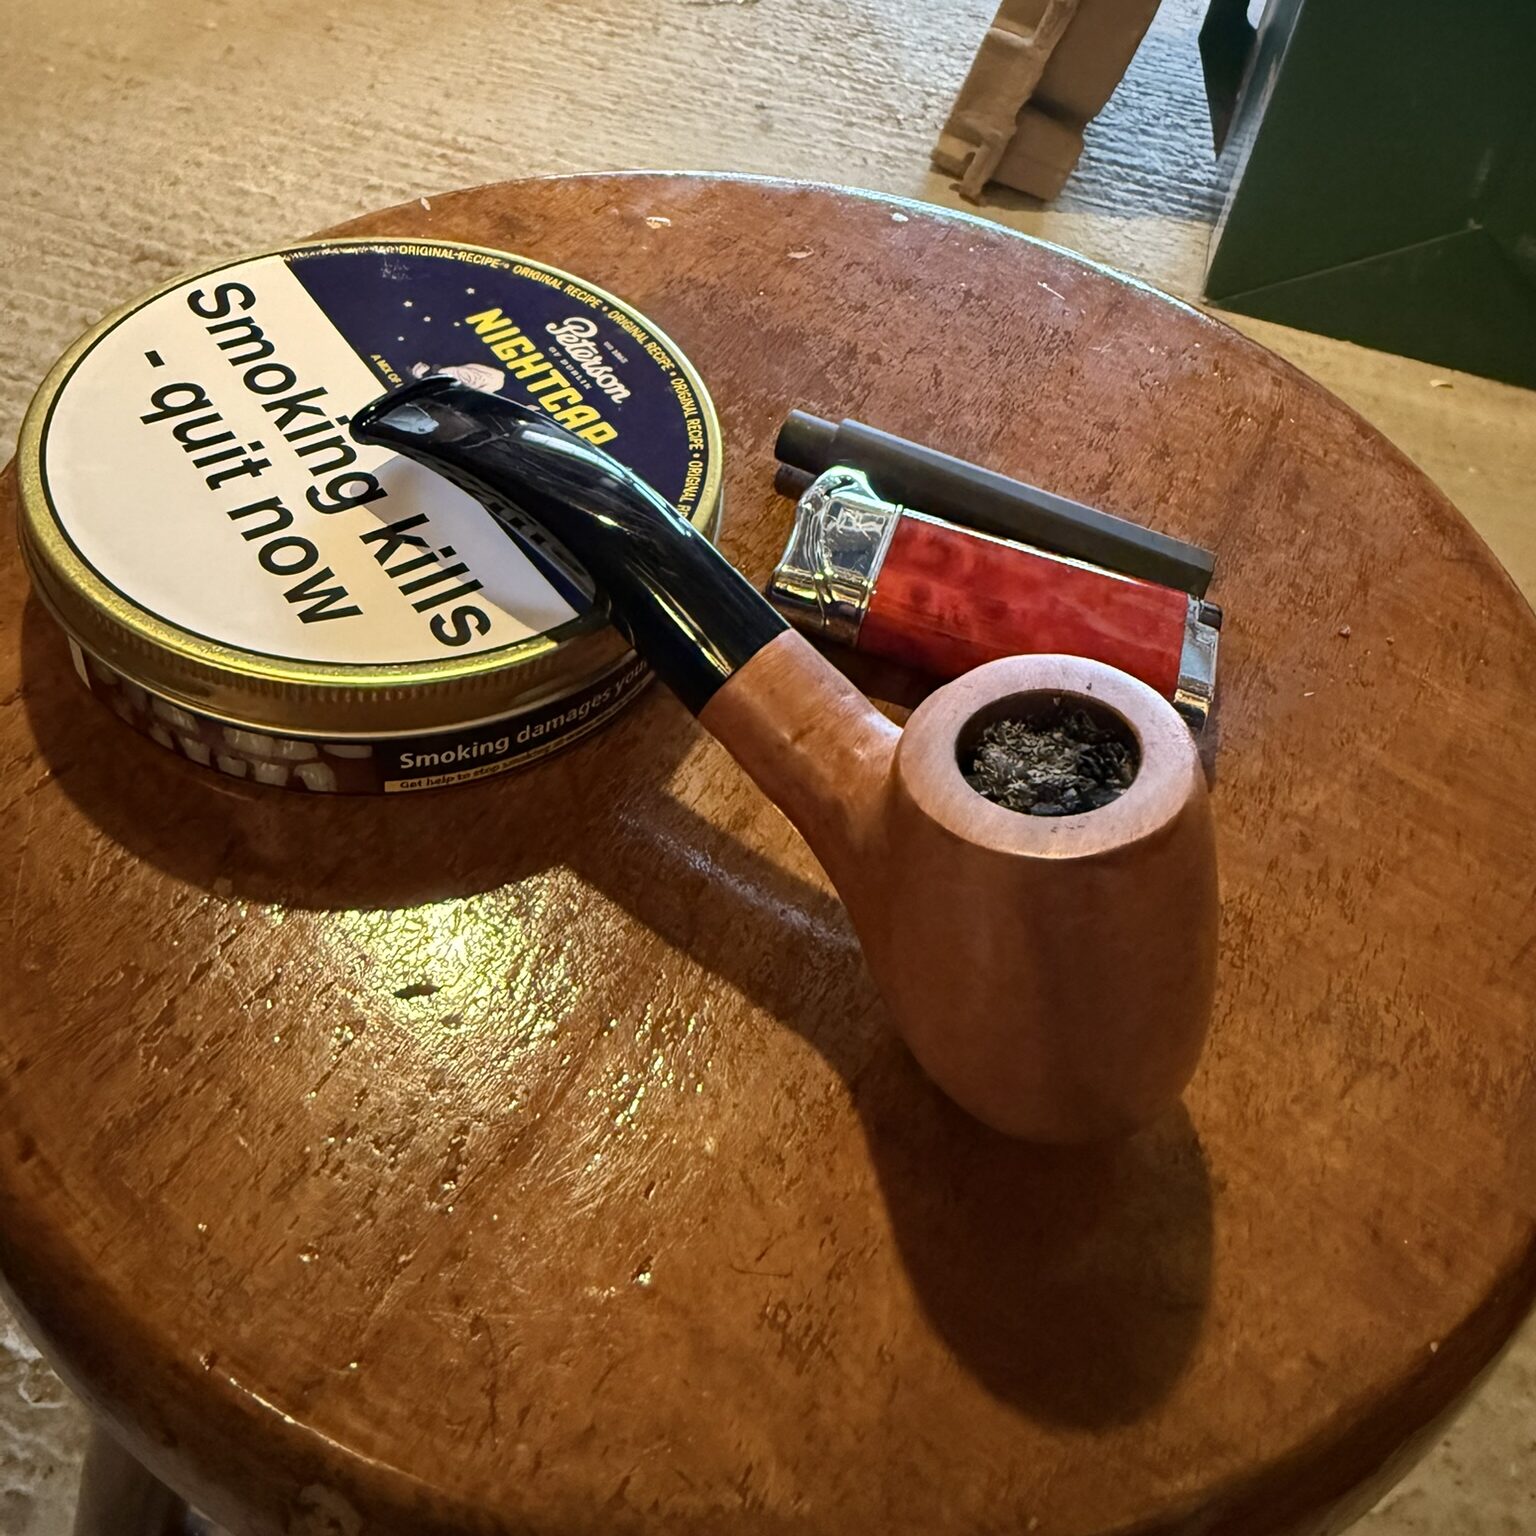
Here is the pipe ‘finished’. I won’t lie, my-newness and excitement to finish probably led to a bit of rushing as I feel the shape is a bit clunky still and could have been refined to be a bit sharper, and there are a lot of tool marks still visible. Overall though, I’m very happy to have a piece that was carved myself and actually smoked pretty well!
Leave a Reply