
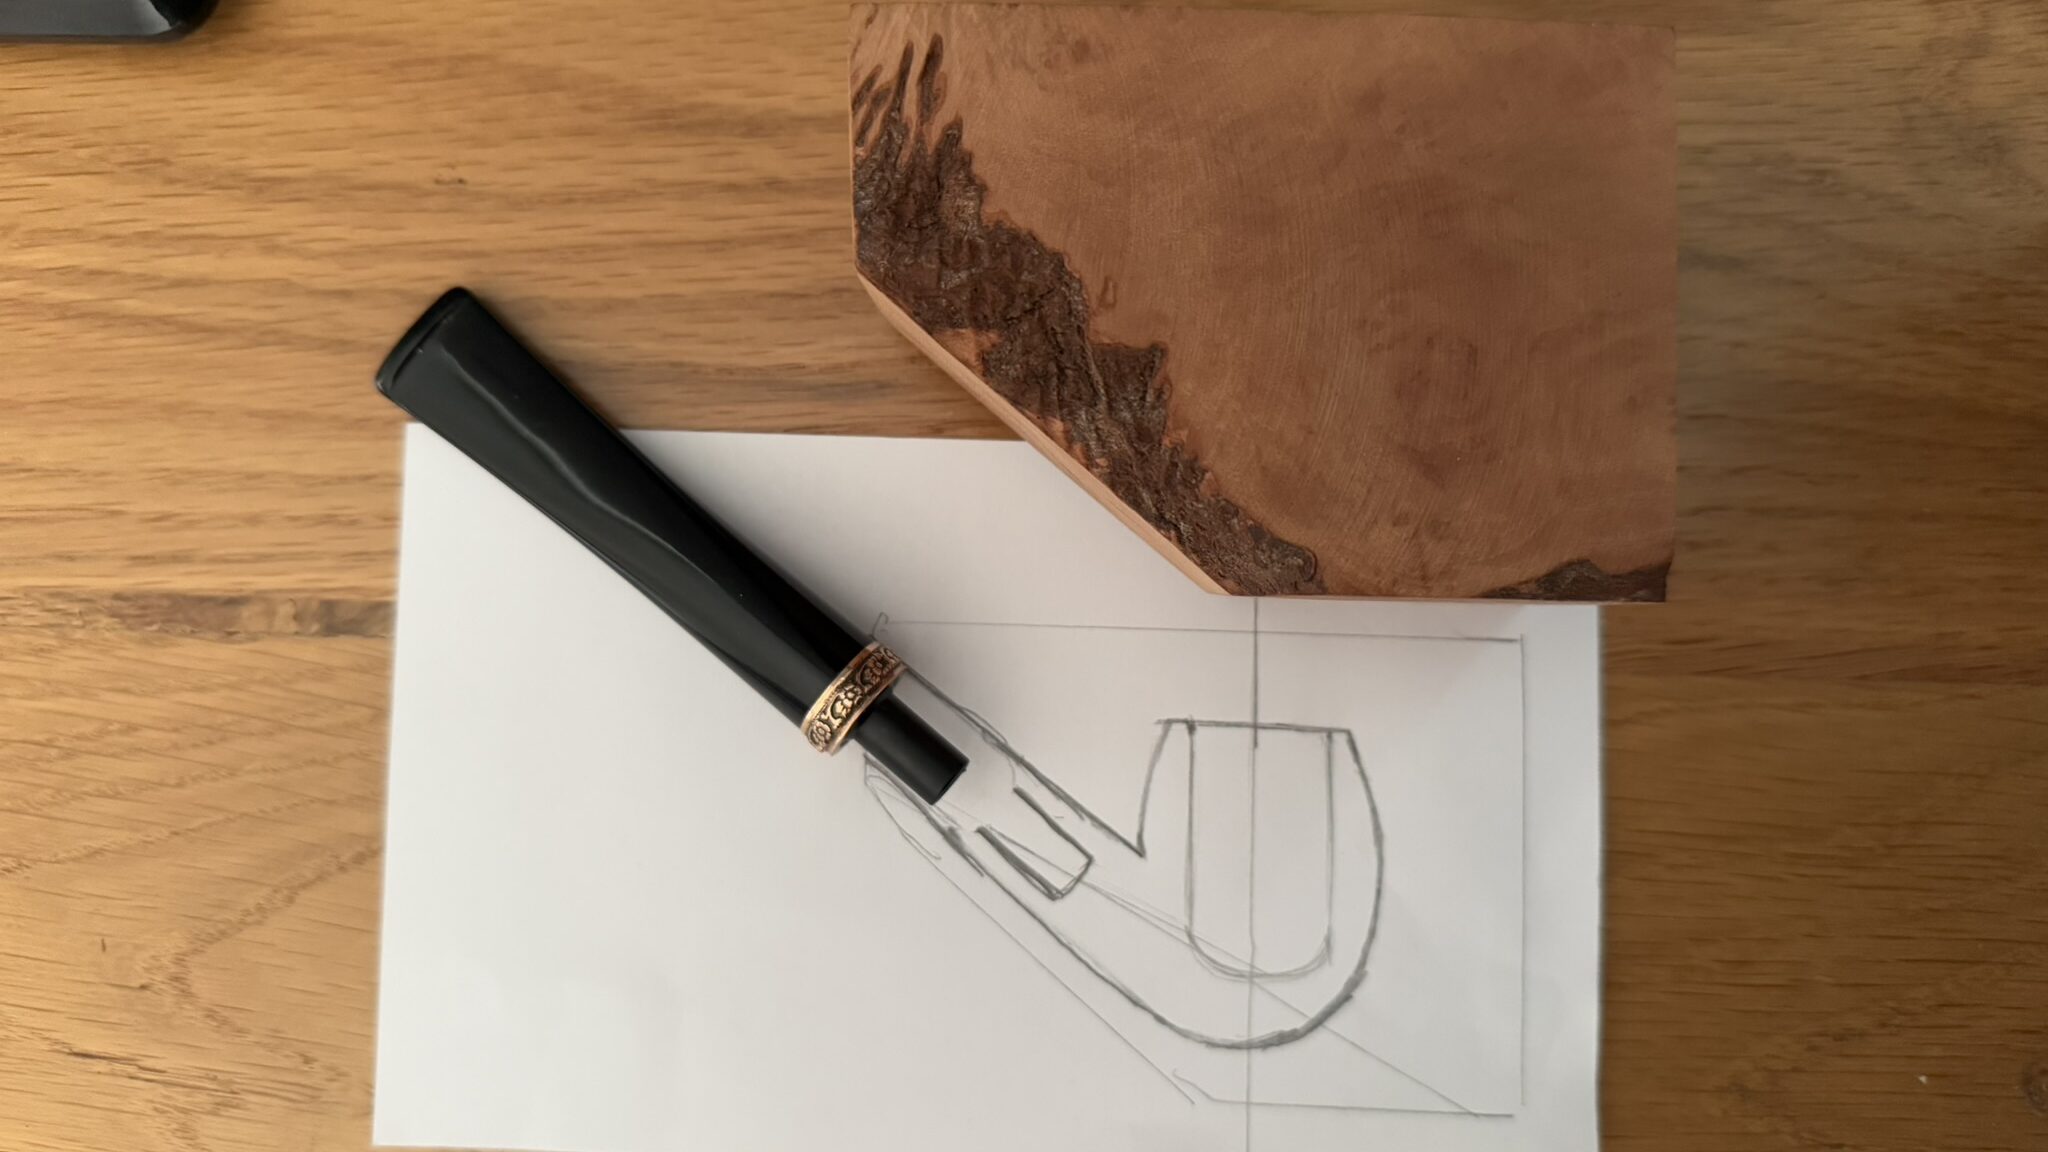
So the next pipe I felt I should give a go was a bent style, seeing as they’re so common and also one of my current favourite shapes! Plus, drilling a squared block for a billiard is fairly simple as you can use the squared edges to help line up the drill bits, but a bent requires tilting the block, which in my currently limited and low-end workspace can be a little trickier!
I started off by taking the block to the bench sander to square it up as much as possible, then moved to sketching out the shape I wanted to get from the block on some paper (very badly might I add)
Now – annoyingly – it’s quite hard to take pictures of some of the processes whilst i’m actually doing those processes, so there are some images missed from this. I’m thinking about perhaps filming the stages of the next pipe I make!
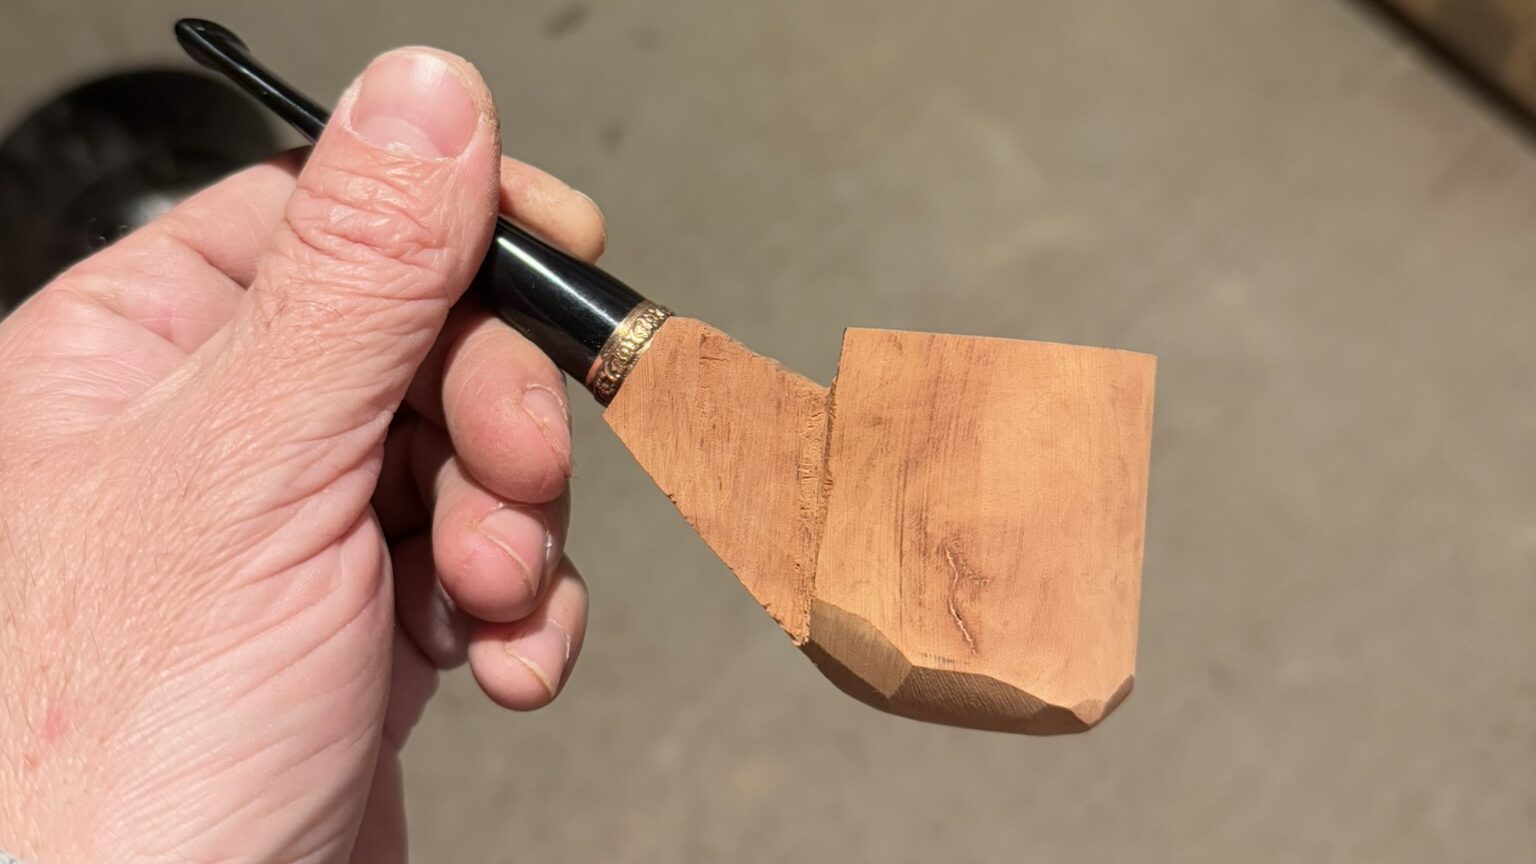
After marking the lines and points for drilling on the block using the sketch I made, I used my handsaw to cut away and mass excess on the block so that when I moved to the Dremel, less material would need to be removed.
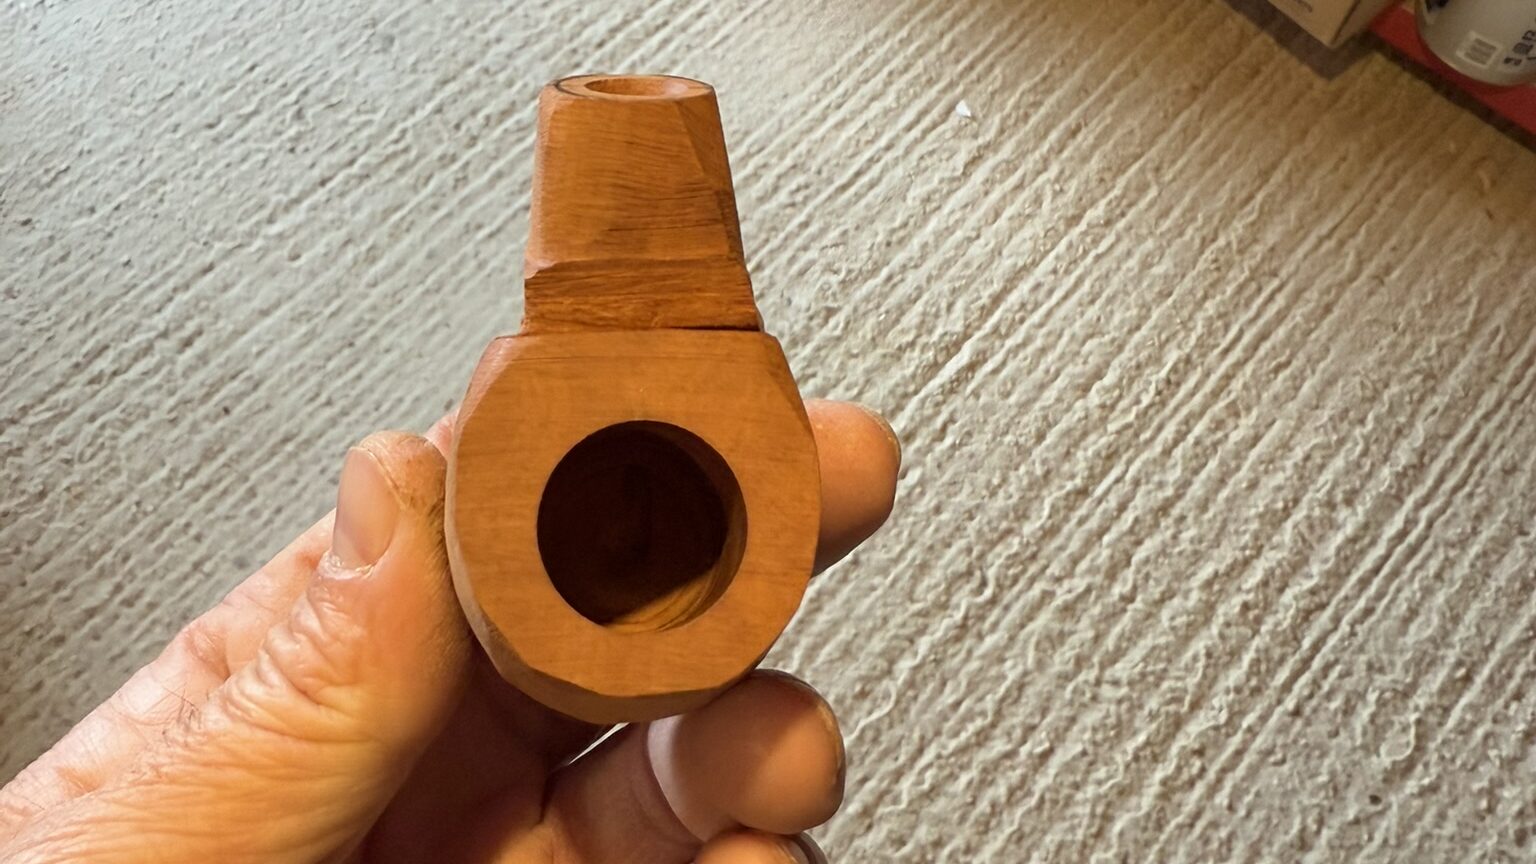
With the block marked out and squared up, I got it clamped up in my drill press and drilled out the tobacco chamber, mortise and airway, before taking it to the bench sander to do some initial shaping. This bench sander is a bit aggressive, but I’m in the process of building a French wheel set-up which will have a higher grit for shaping.
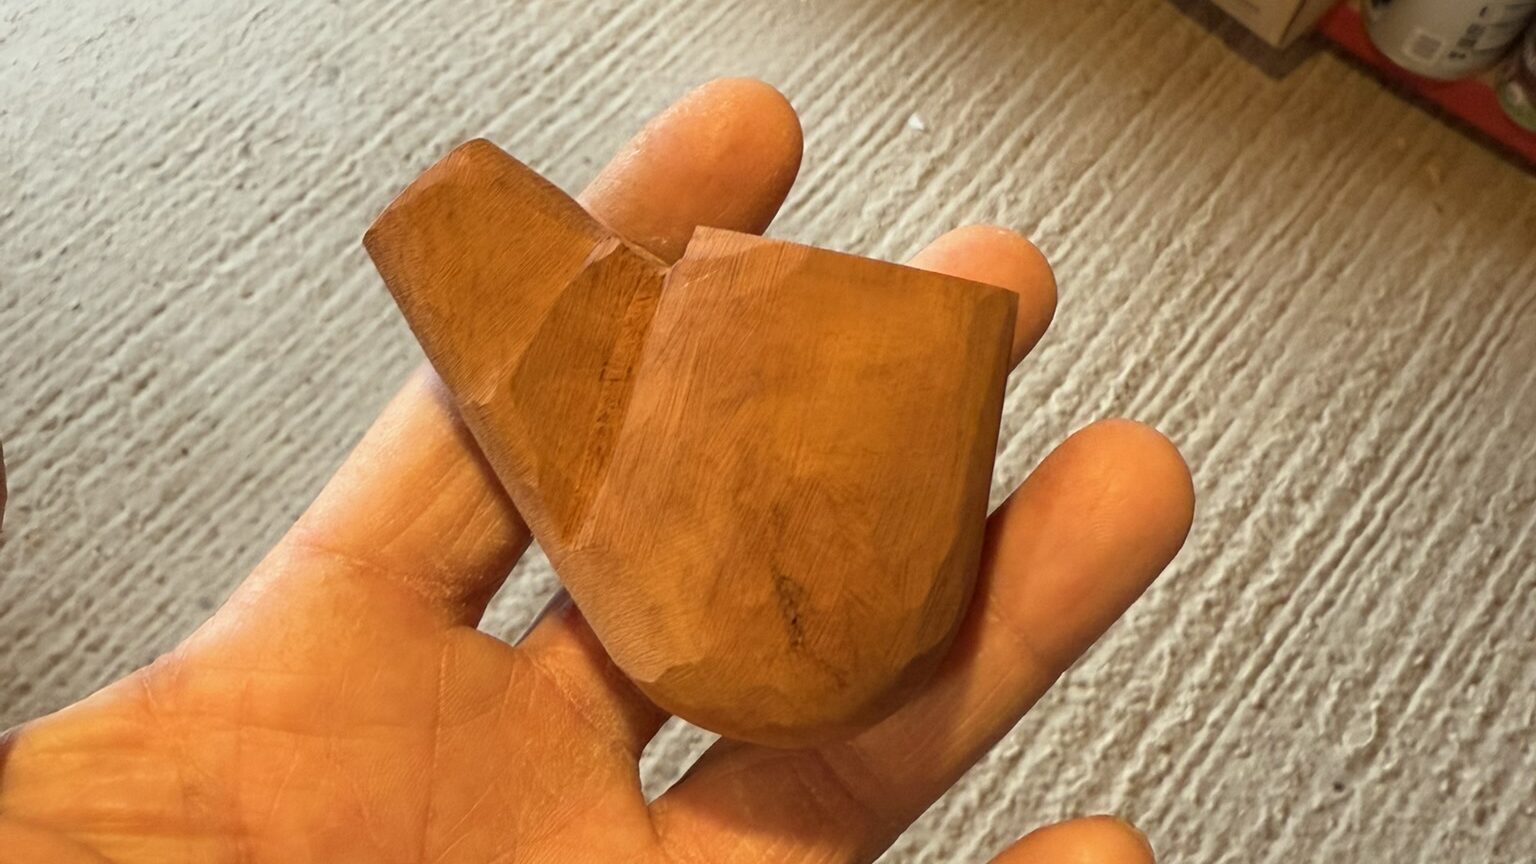
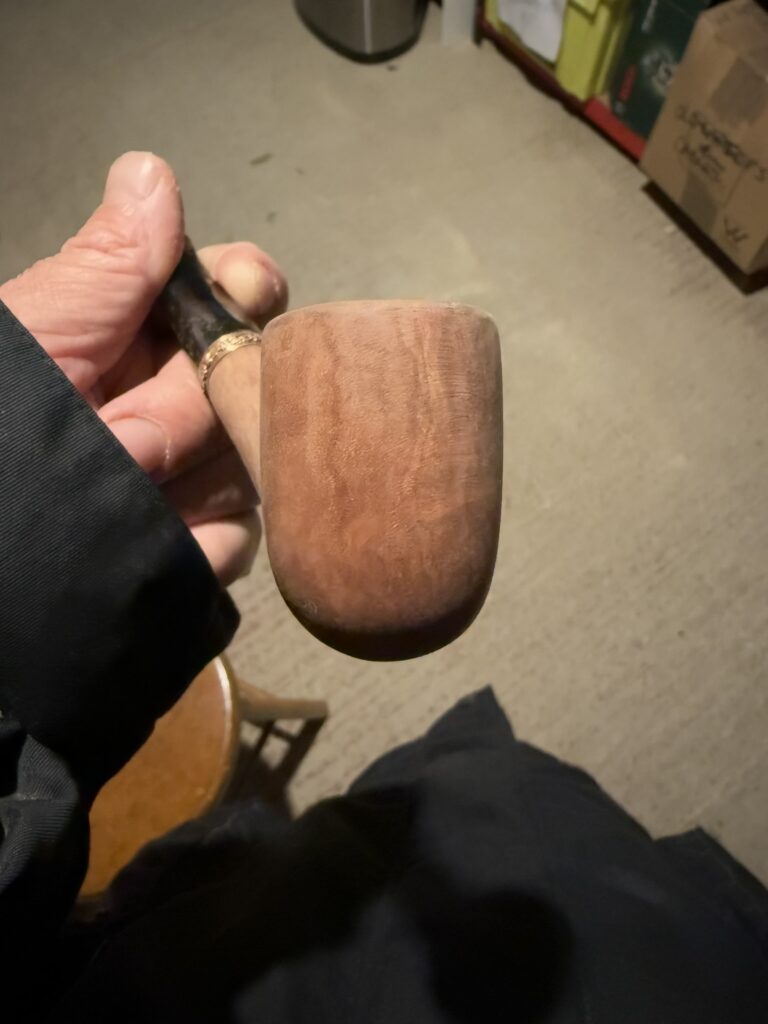
First pass of rough shaping
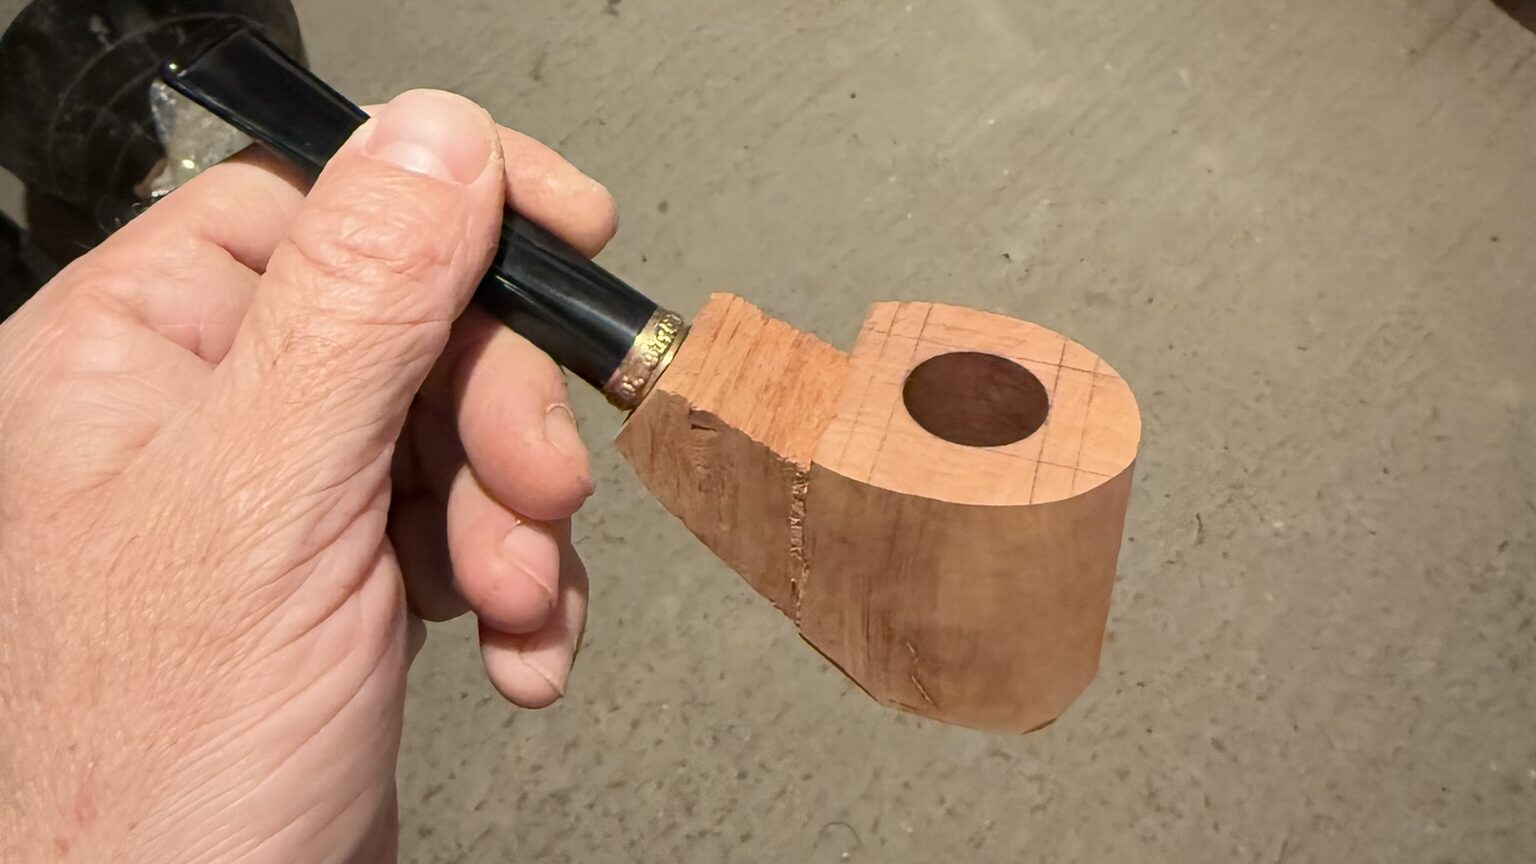

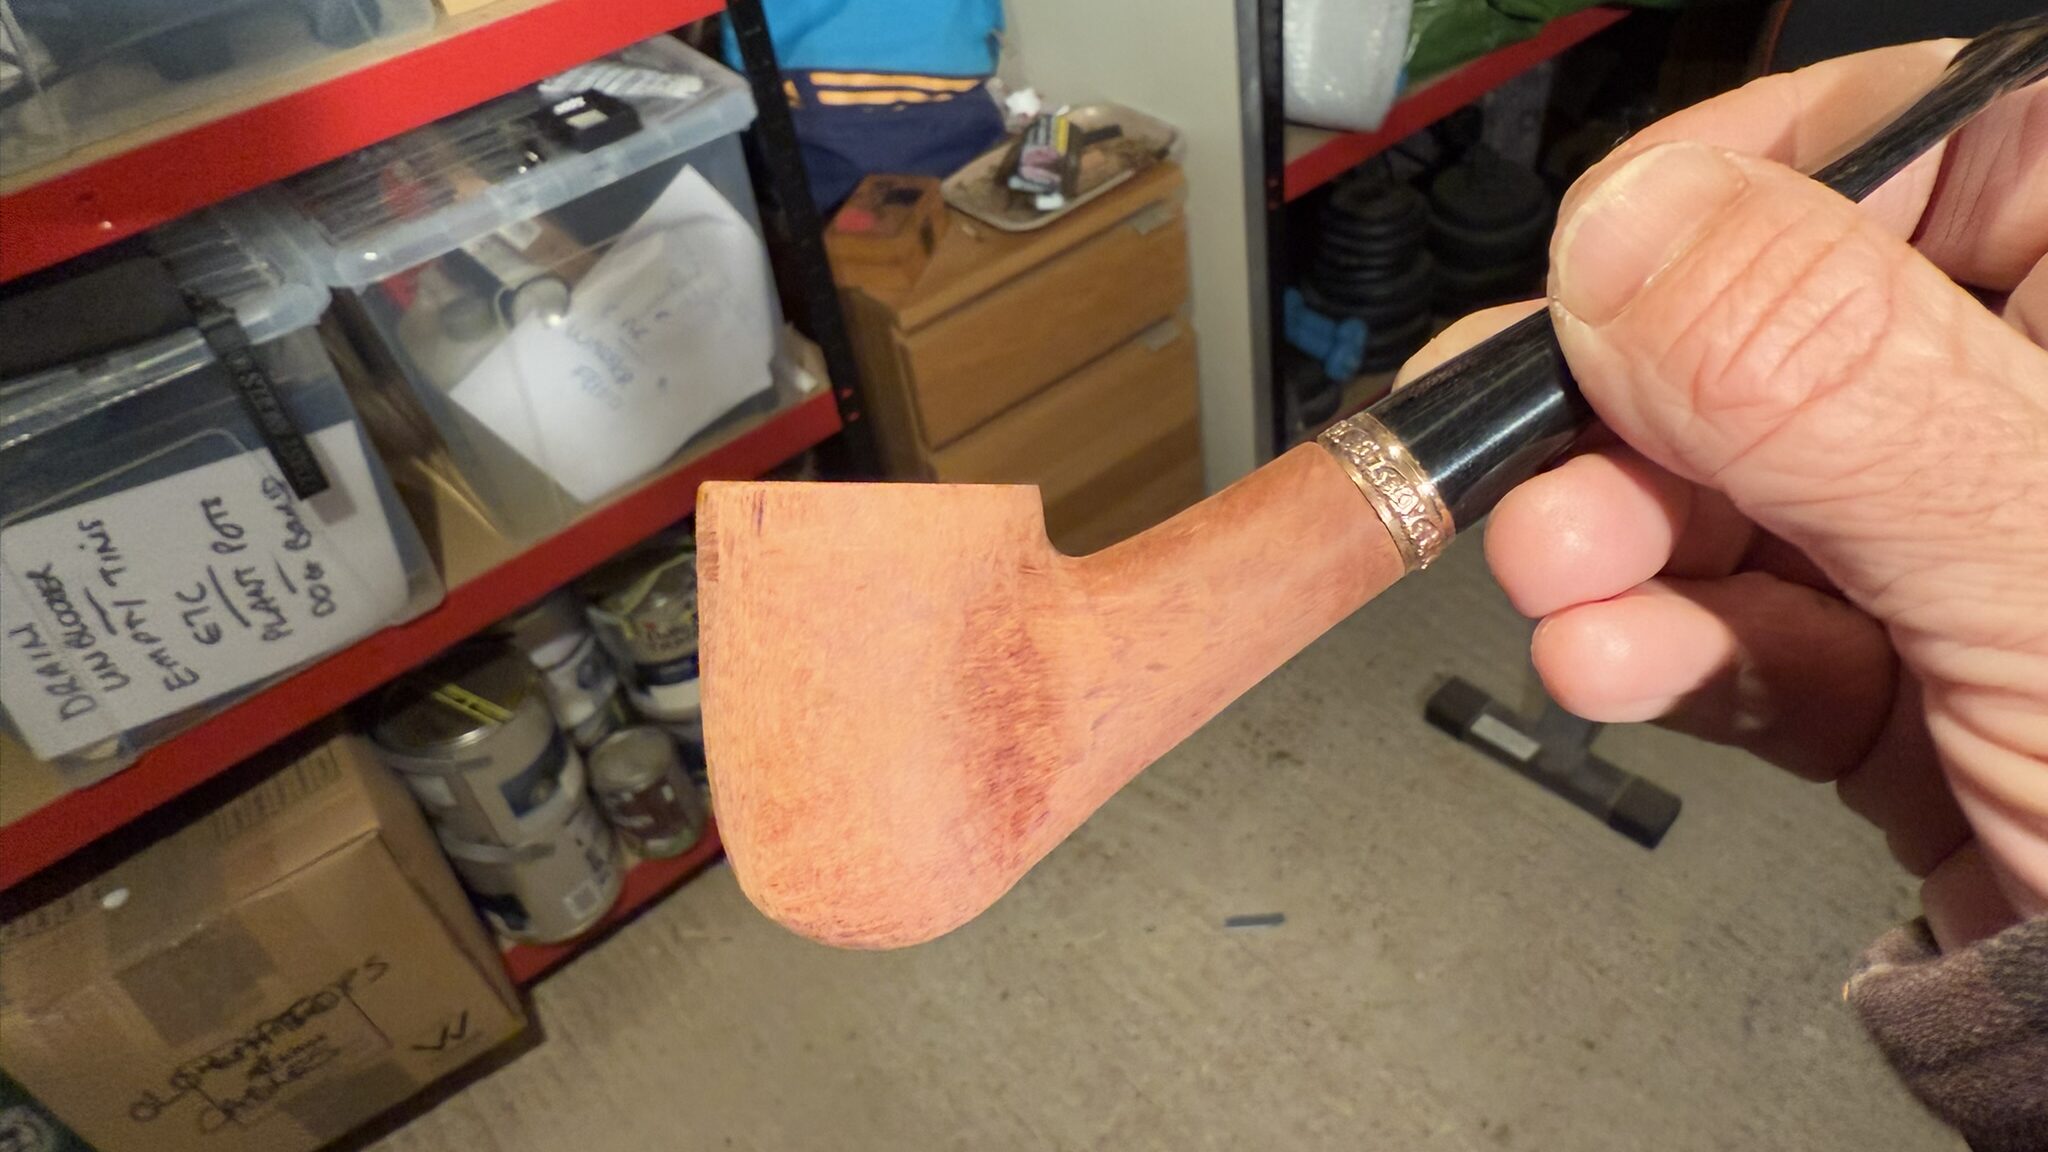
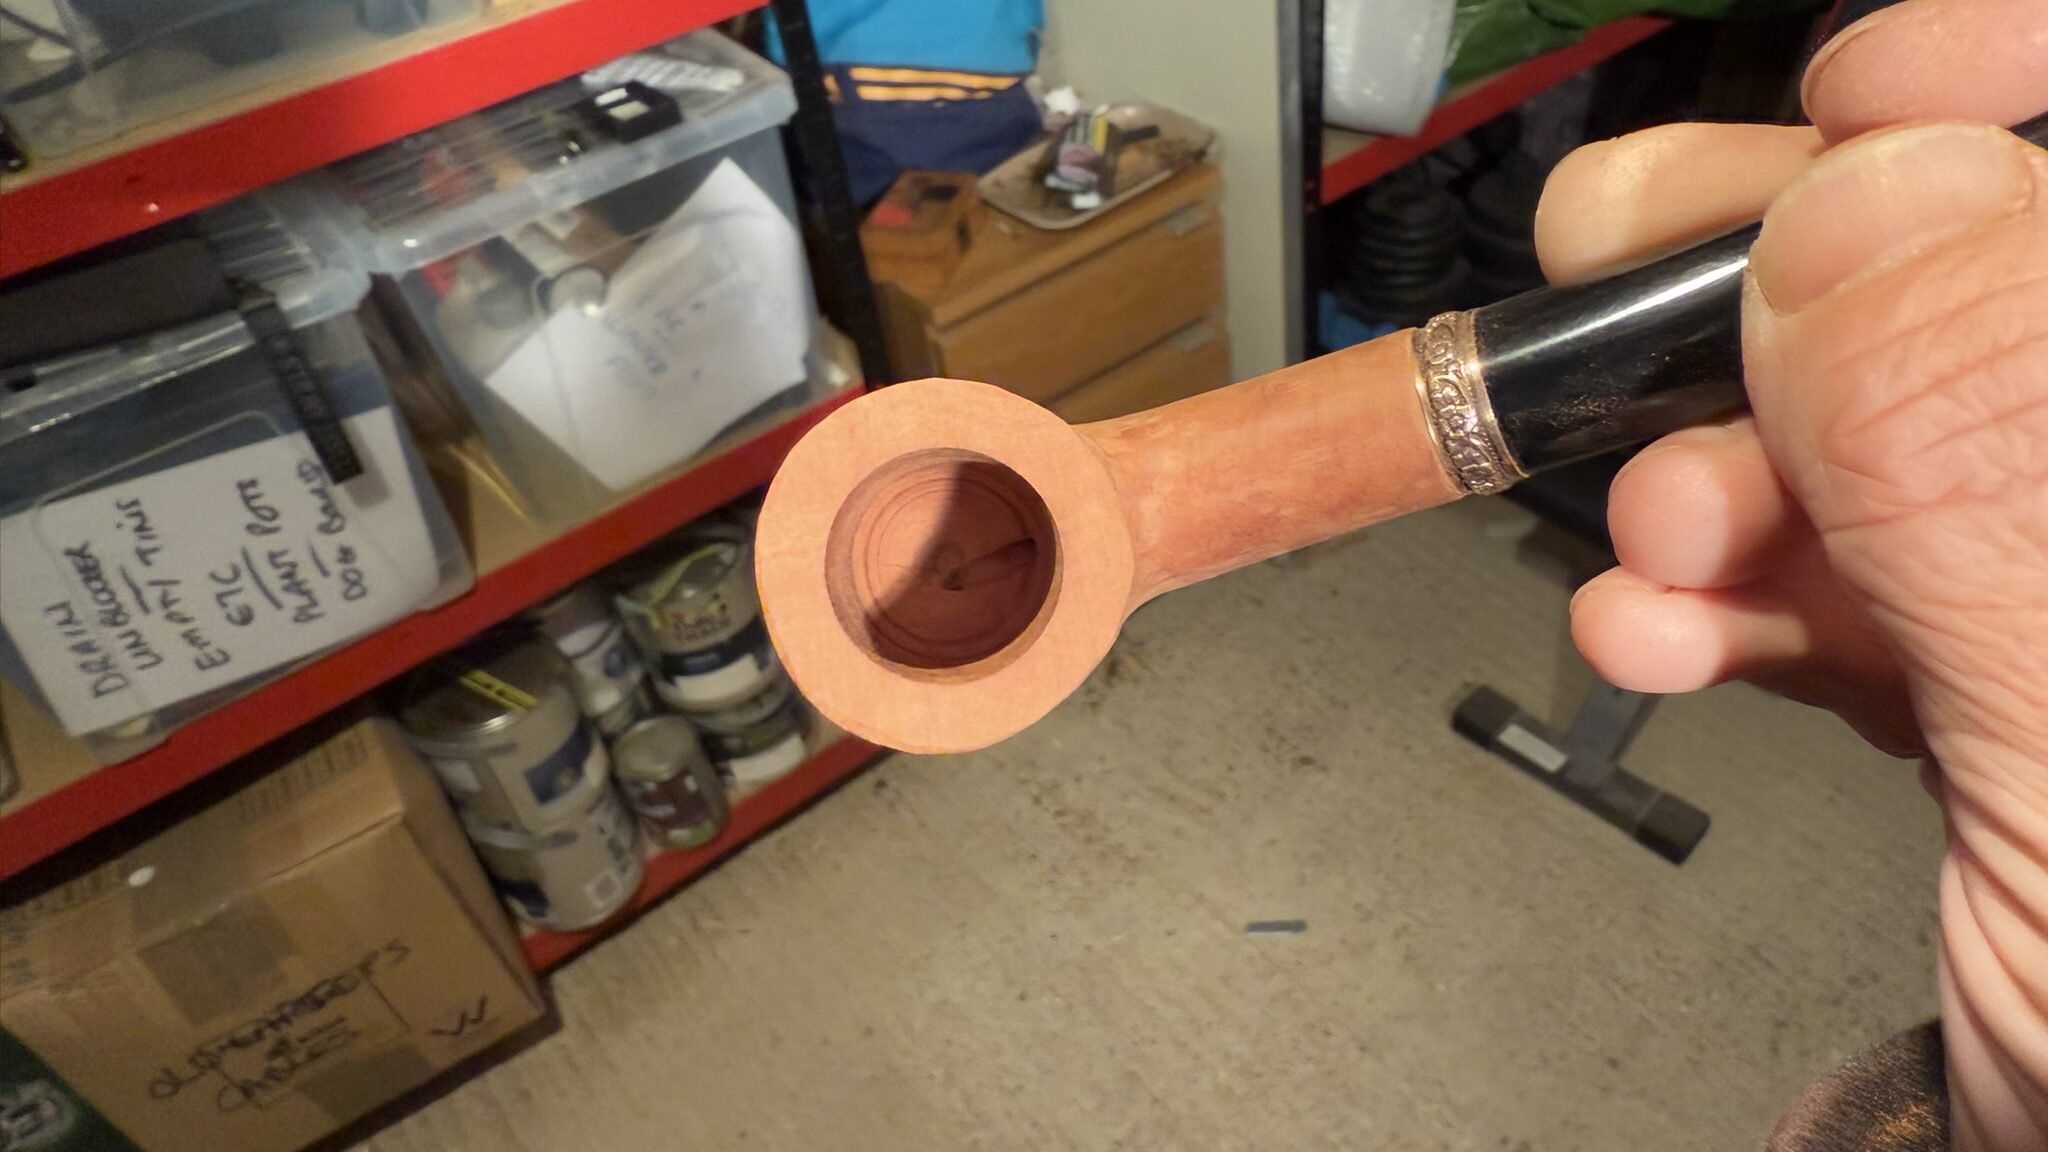
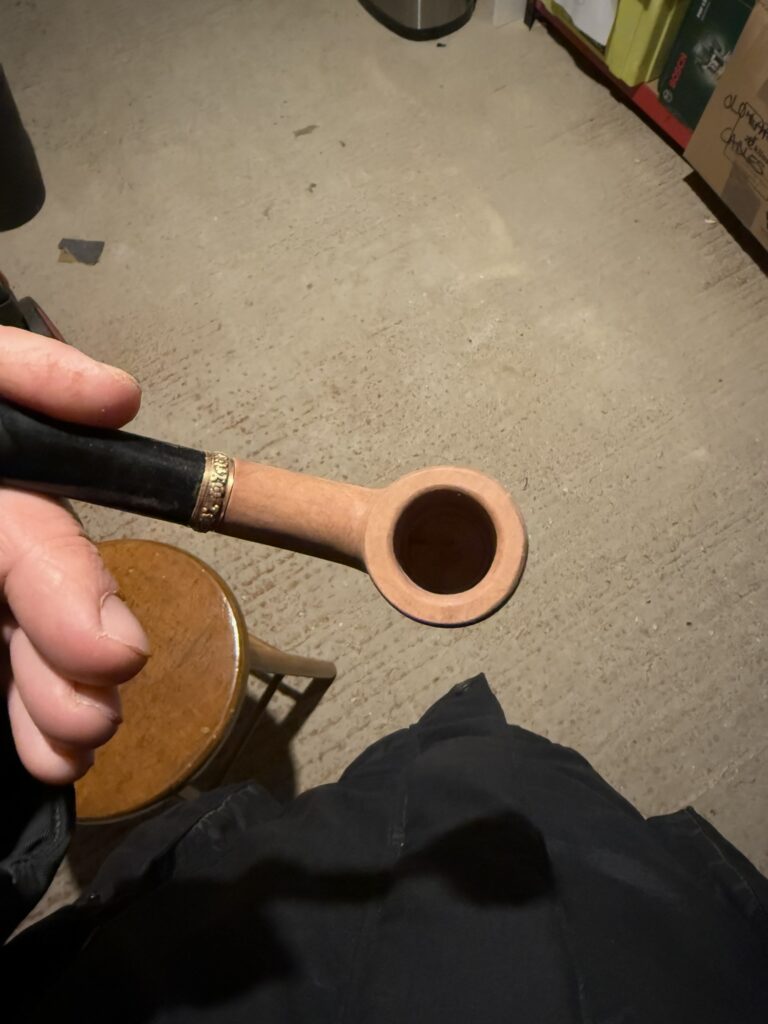
I was a bit unhappy with my draught hole, as the bit went a bit too far and deep, causing a small groove in the bottom of the bowl. It was also fairly off centre, which also is annoying! I think I might have rushed the drilling part rather than taking more time to ensure everything was lining up properly and going in the direction it should. I did try drilling the chamber out a bit more to match the depth of the groove, but i didnt want to make the bottom wall of the bowl too thin. Either way, it’s still great to finish off the pipe!
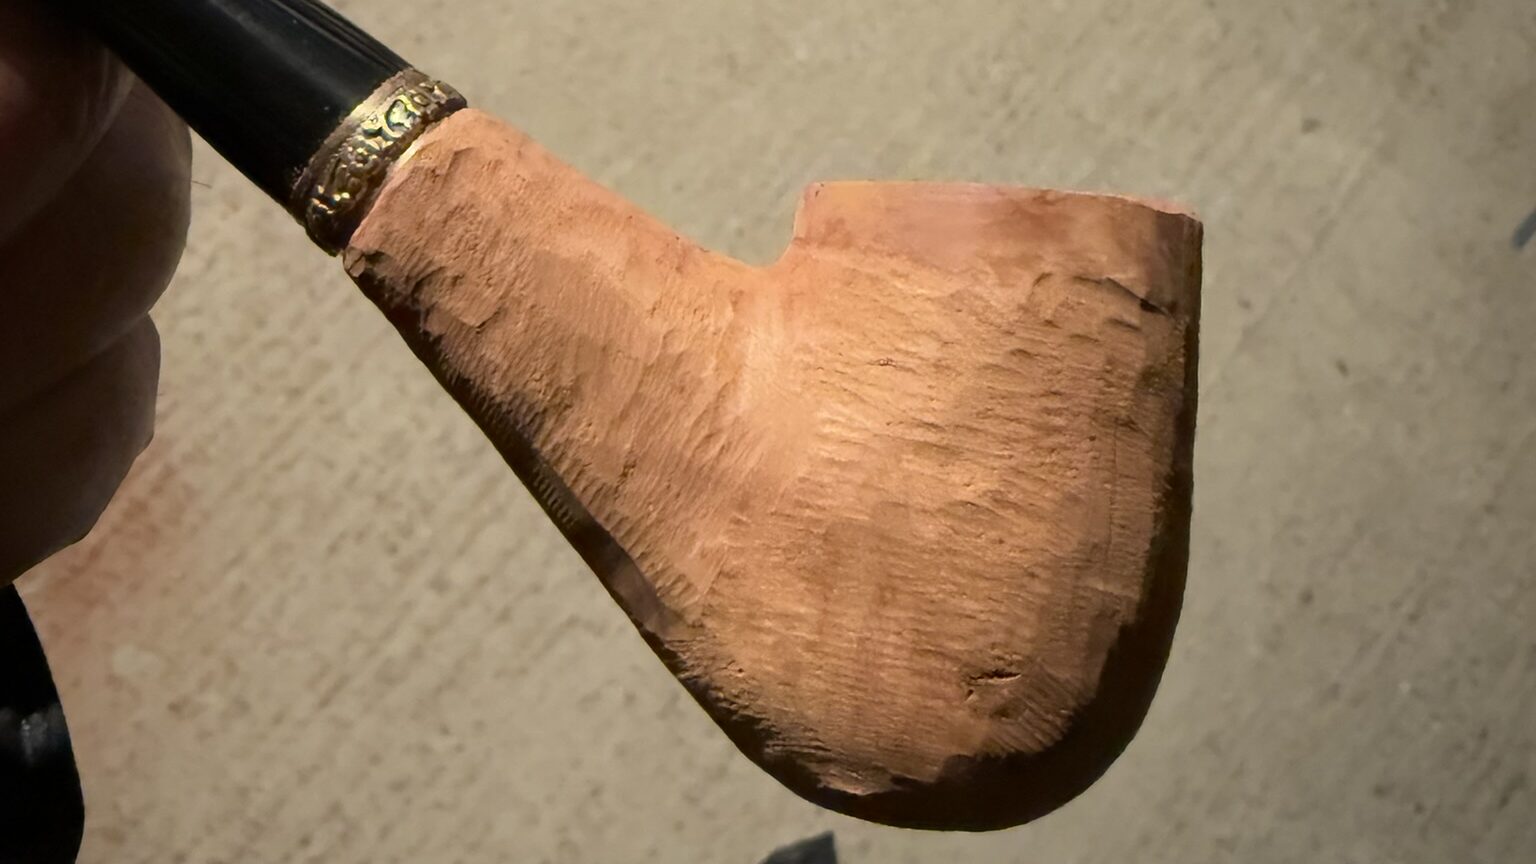
Second pass of rough shaping

The shape slowly started to appear from the rough sanding process, and then it was time to get the Dremel out with some MAX Carving bits to get the shape a bit more tidied up.
The start of shaping with a Dremel
From here it was a case of gradually removing more and more material, whilst comparing both sides against my sketch and the light to try and make sure it was as symmetrical as I could get it by hand. From here I switched over from the carving bits to sanding drums to make things a bit neater and to start smoothing out the shape a bit more.
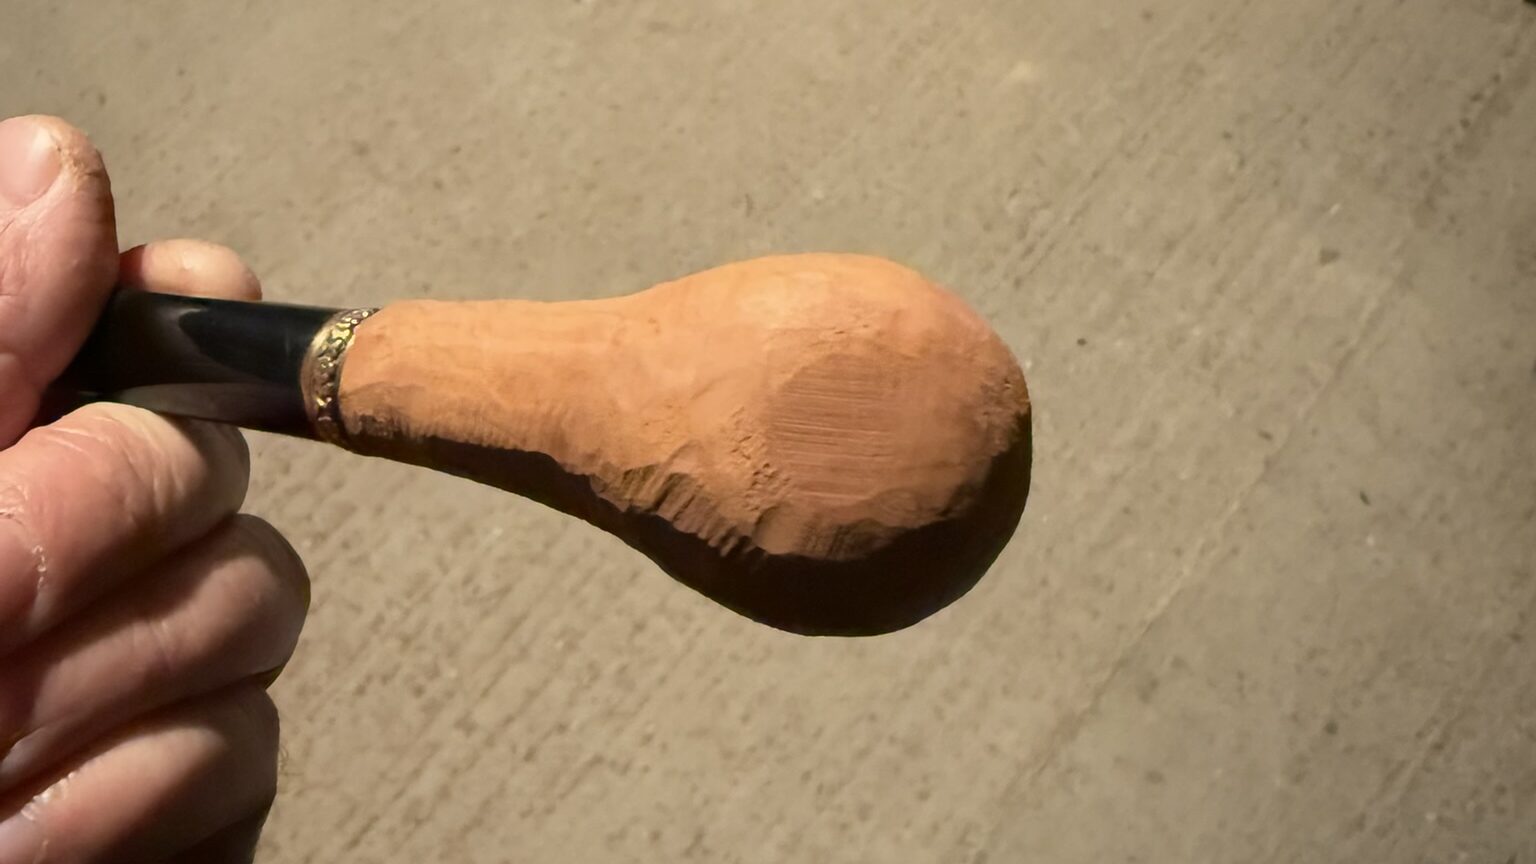
The shape start to appear a bit more
I cant explain how satisfying it is to see a shape you have in your head start to appear from a block of wood simple from applying a bit of time and care.
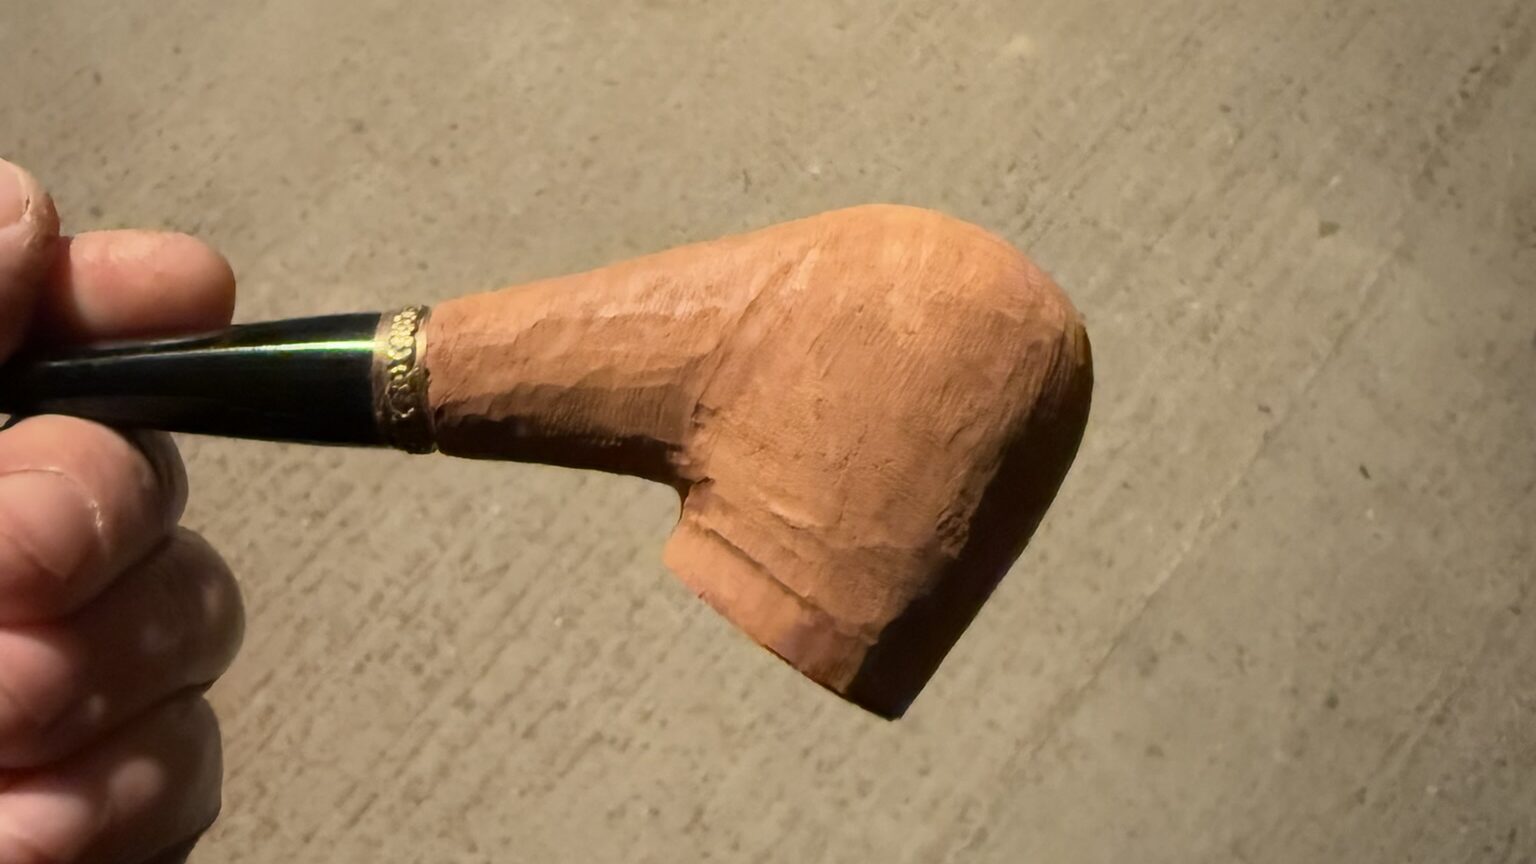
The shape starts to appear a bit more
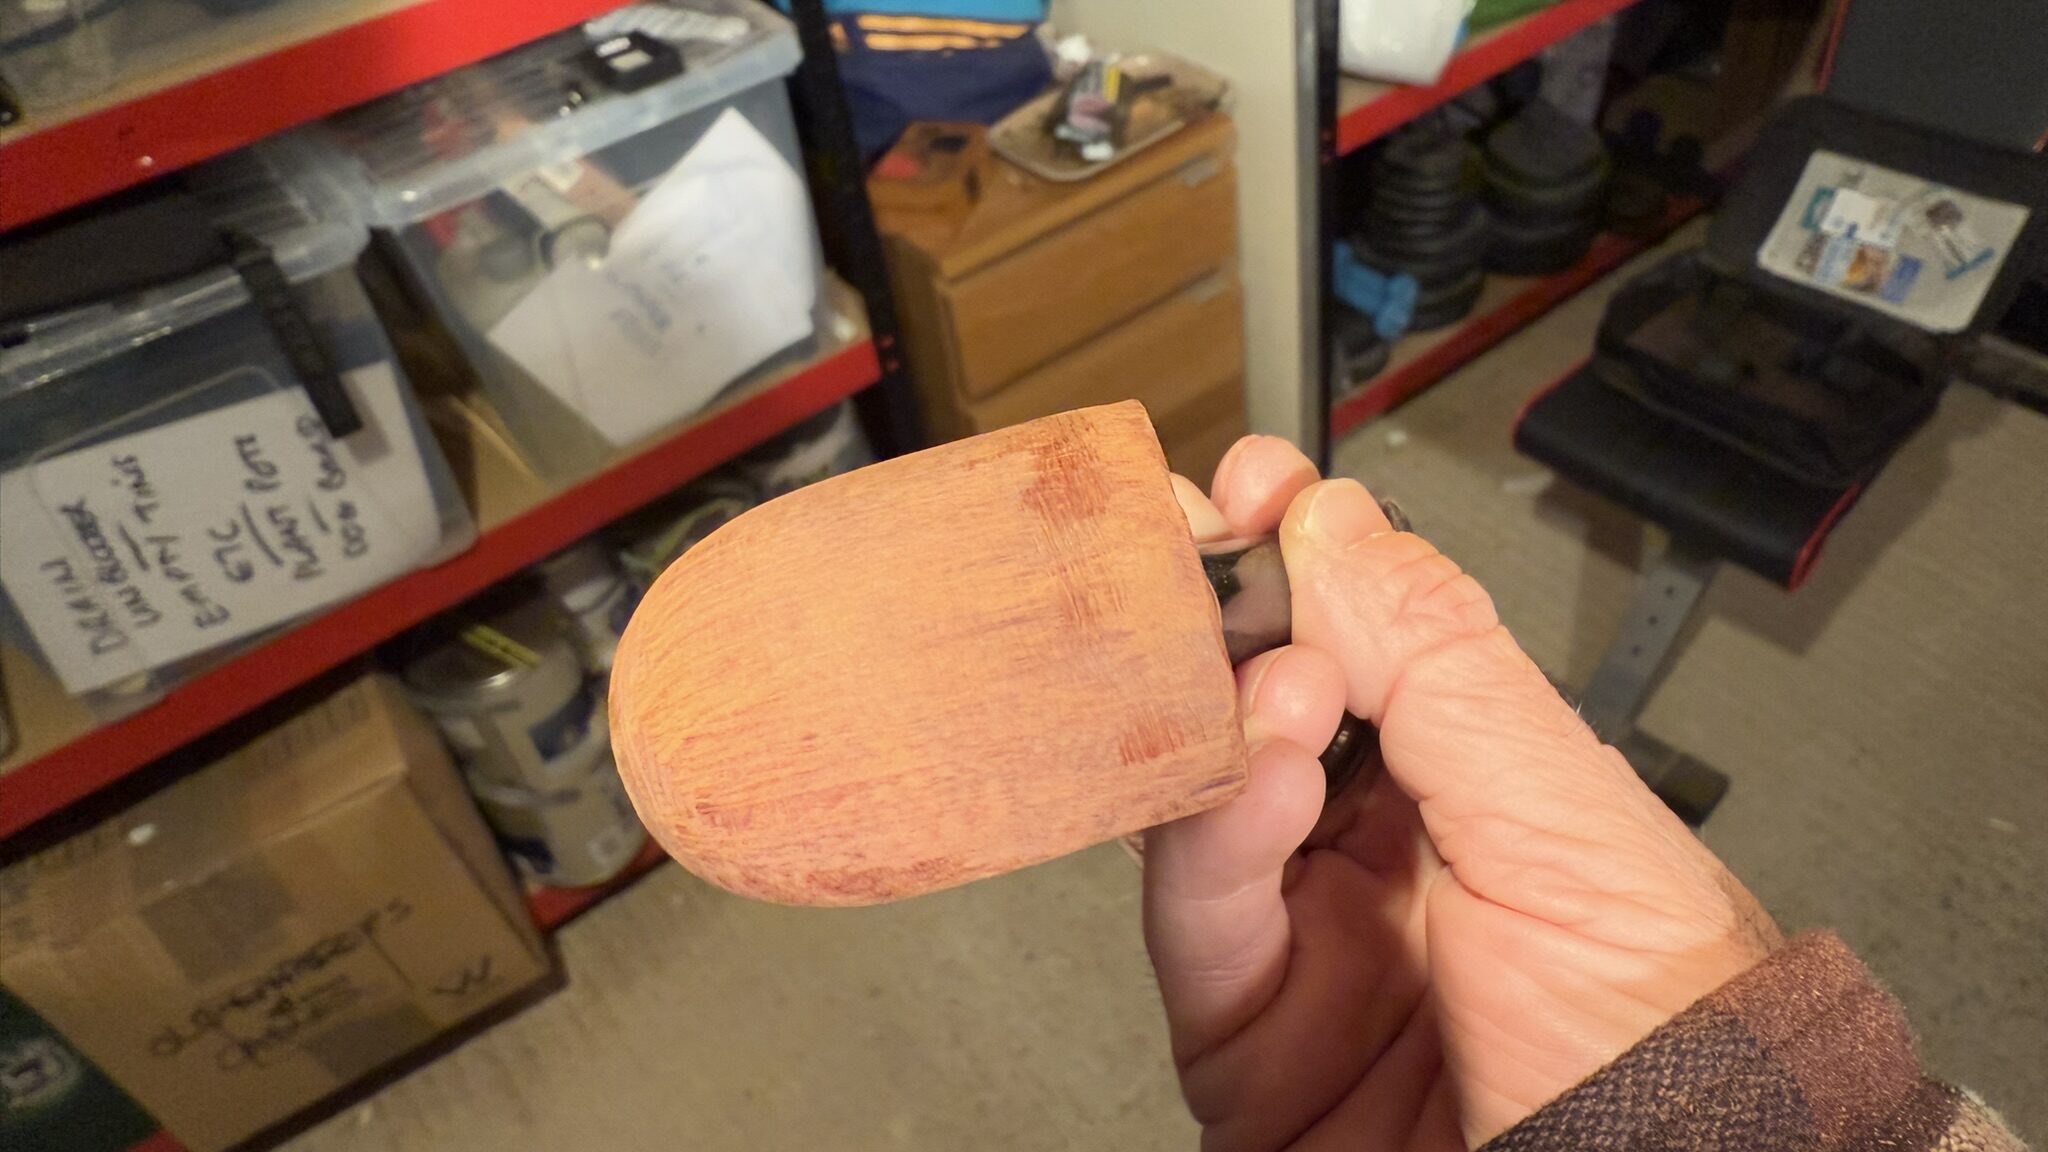
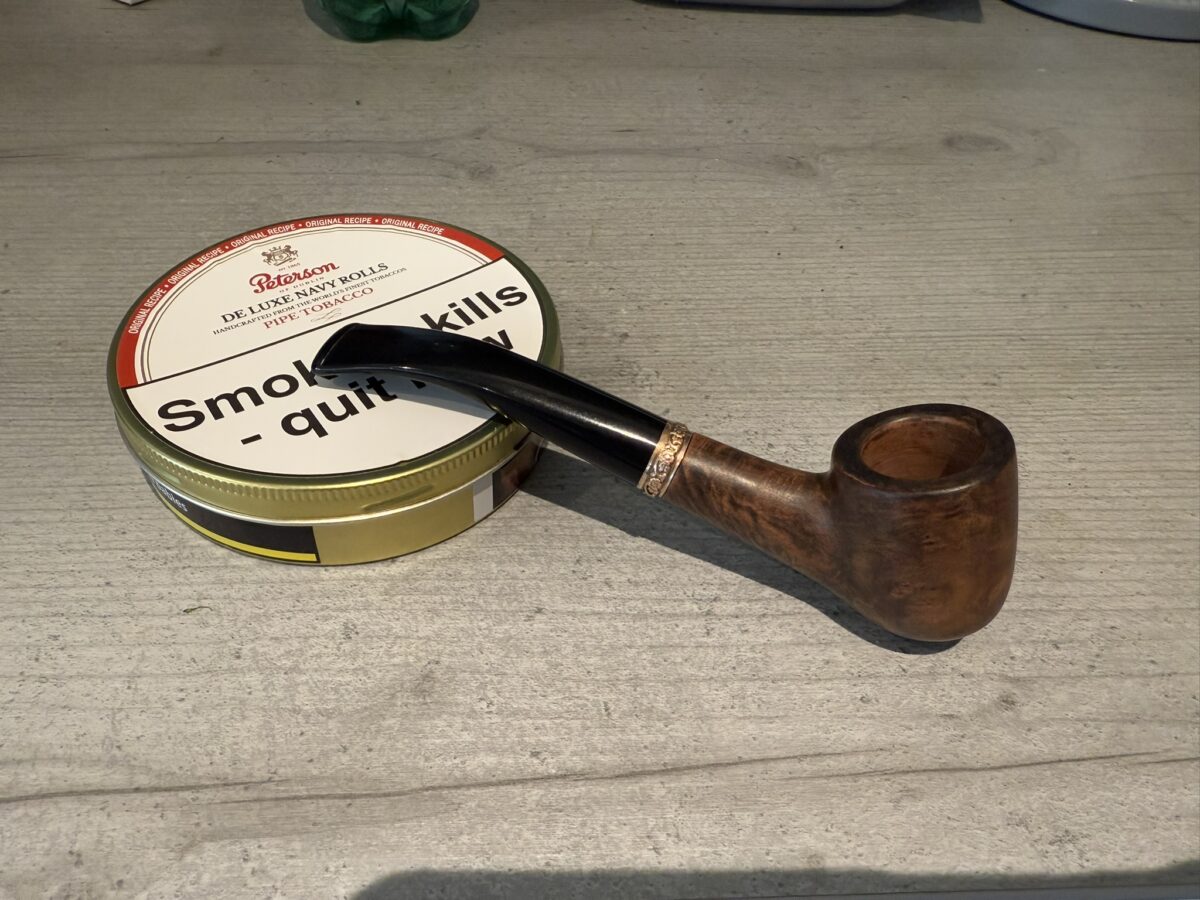
Sadly I forgot to take more photos during the finishing process so I only have the final images below. I sanded my carved stummel up to 400 grit before staining with a dark brown stain. After a couple of hours I wiped off the stummel and sanded back with more 400 grit until some of the lighter grain started to show itself amongst the darker stain. Once I was happy with the contrasting that was appearing, I cleaned off the stummel and then applied a dark mahogany stain. After another couple of hours and a wipe down, i then sanded up the ladder to 1000 grit before adding a couple of coats of Danish oil and finishing up by buffing it up with carnauba wax.
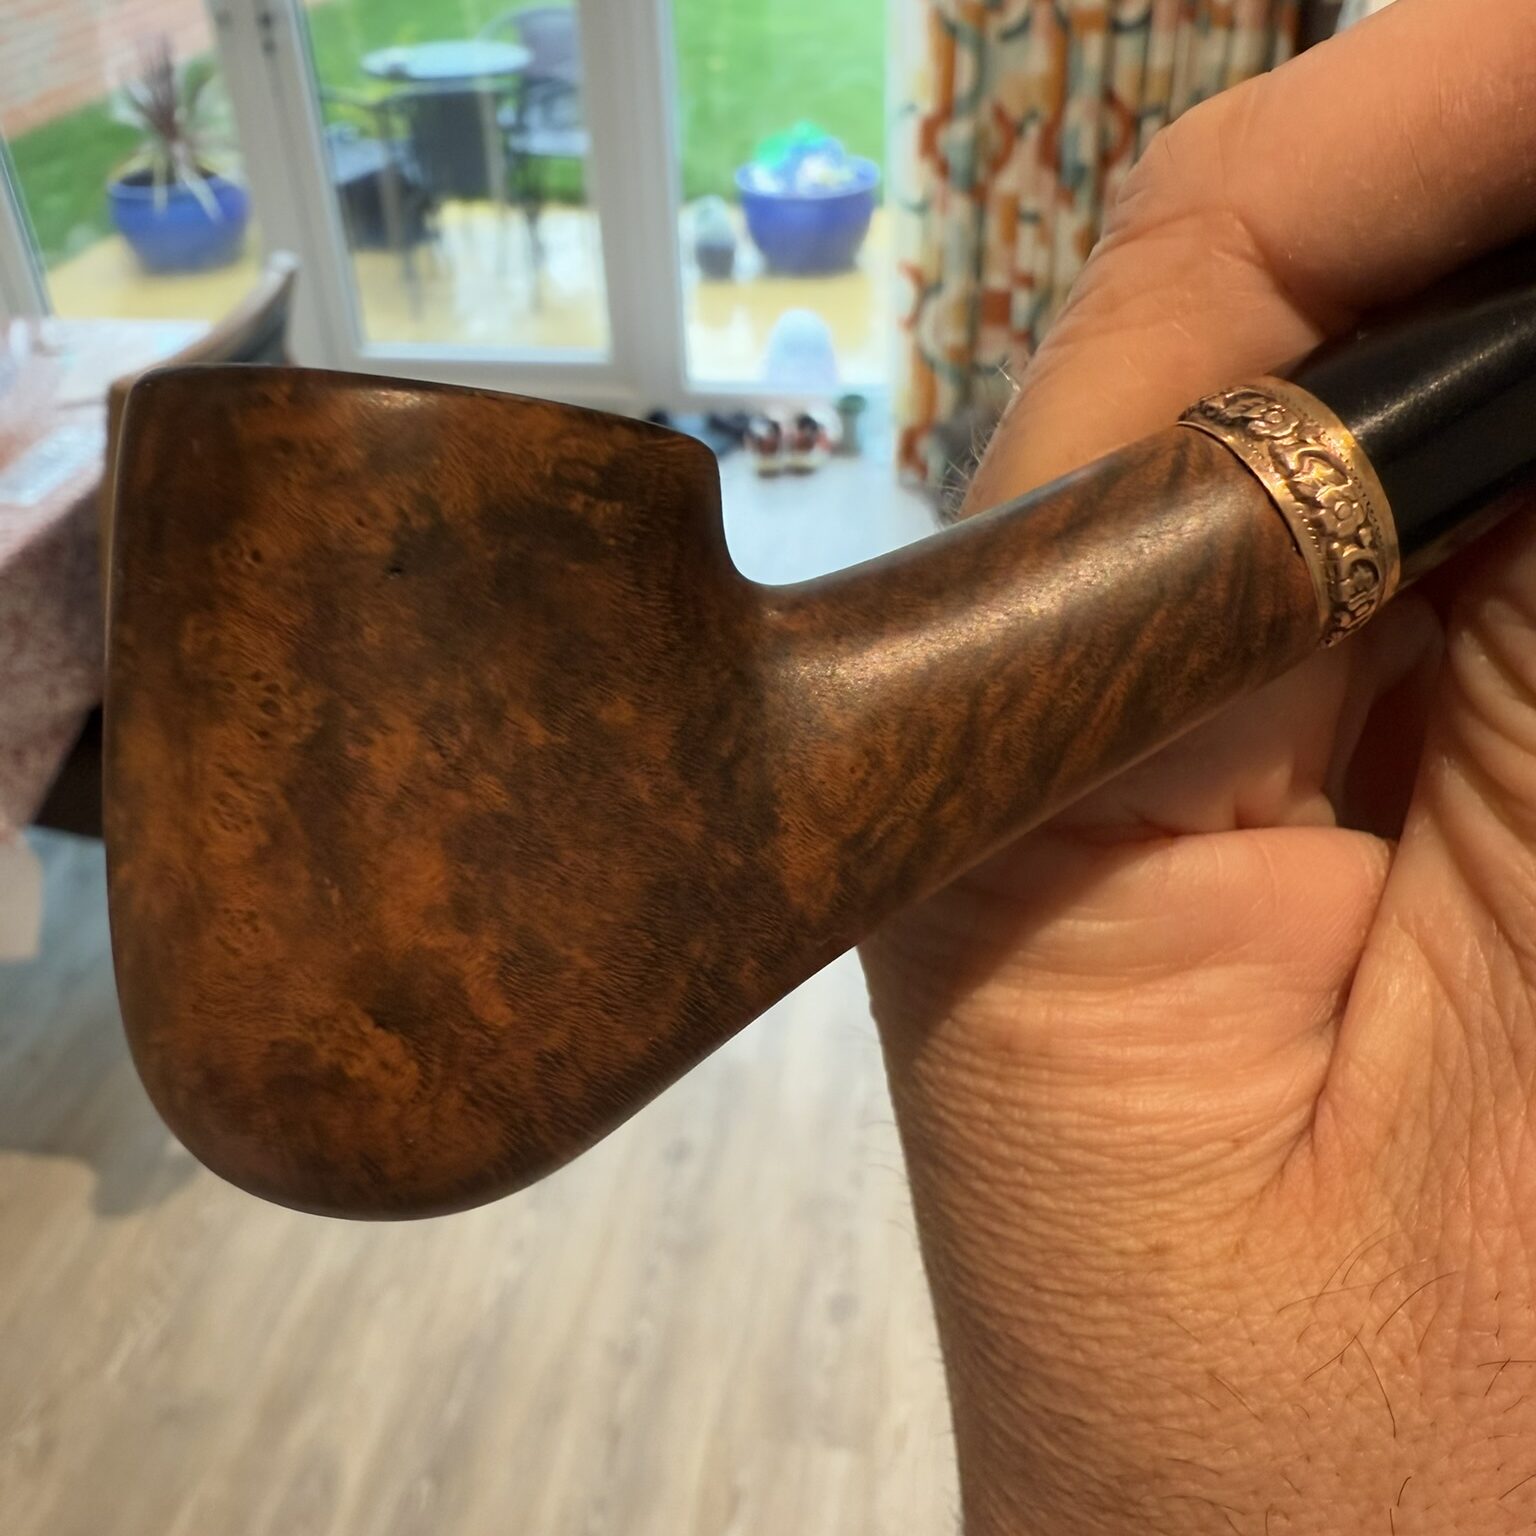
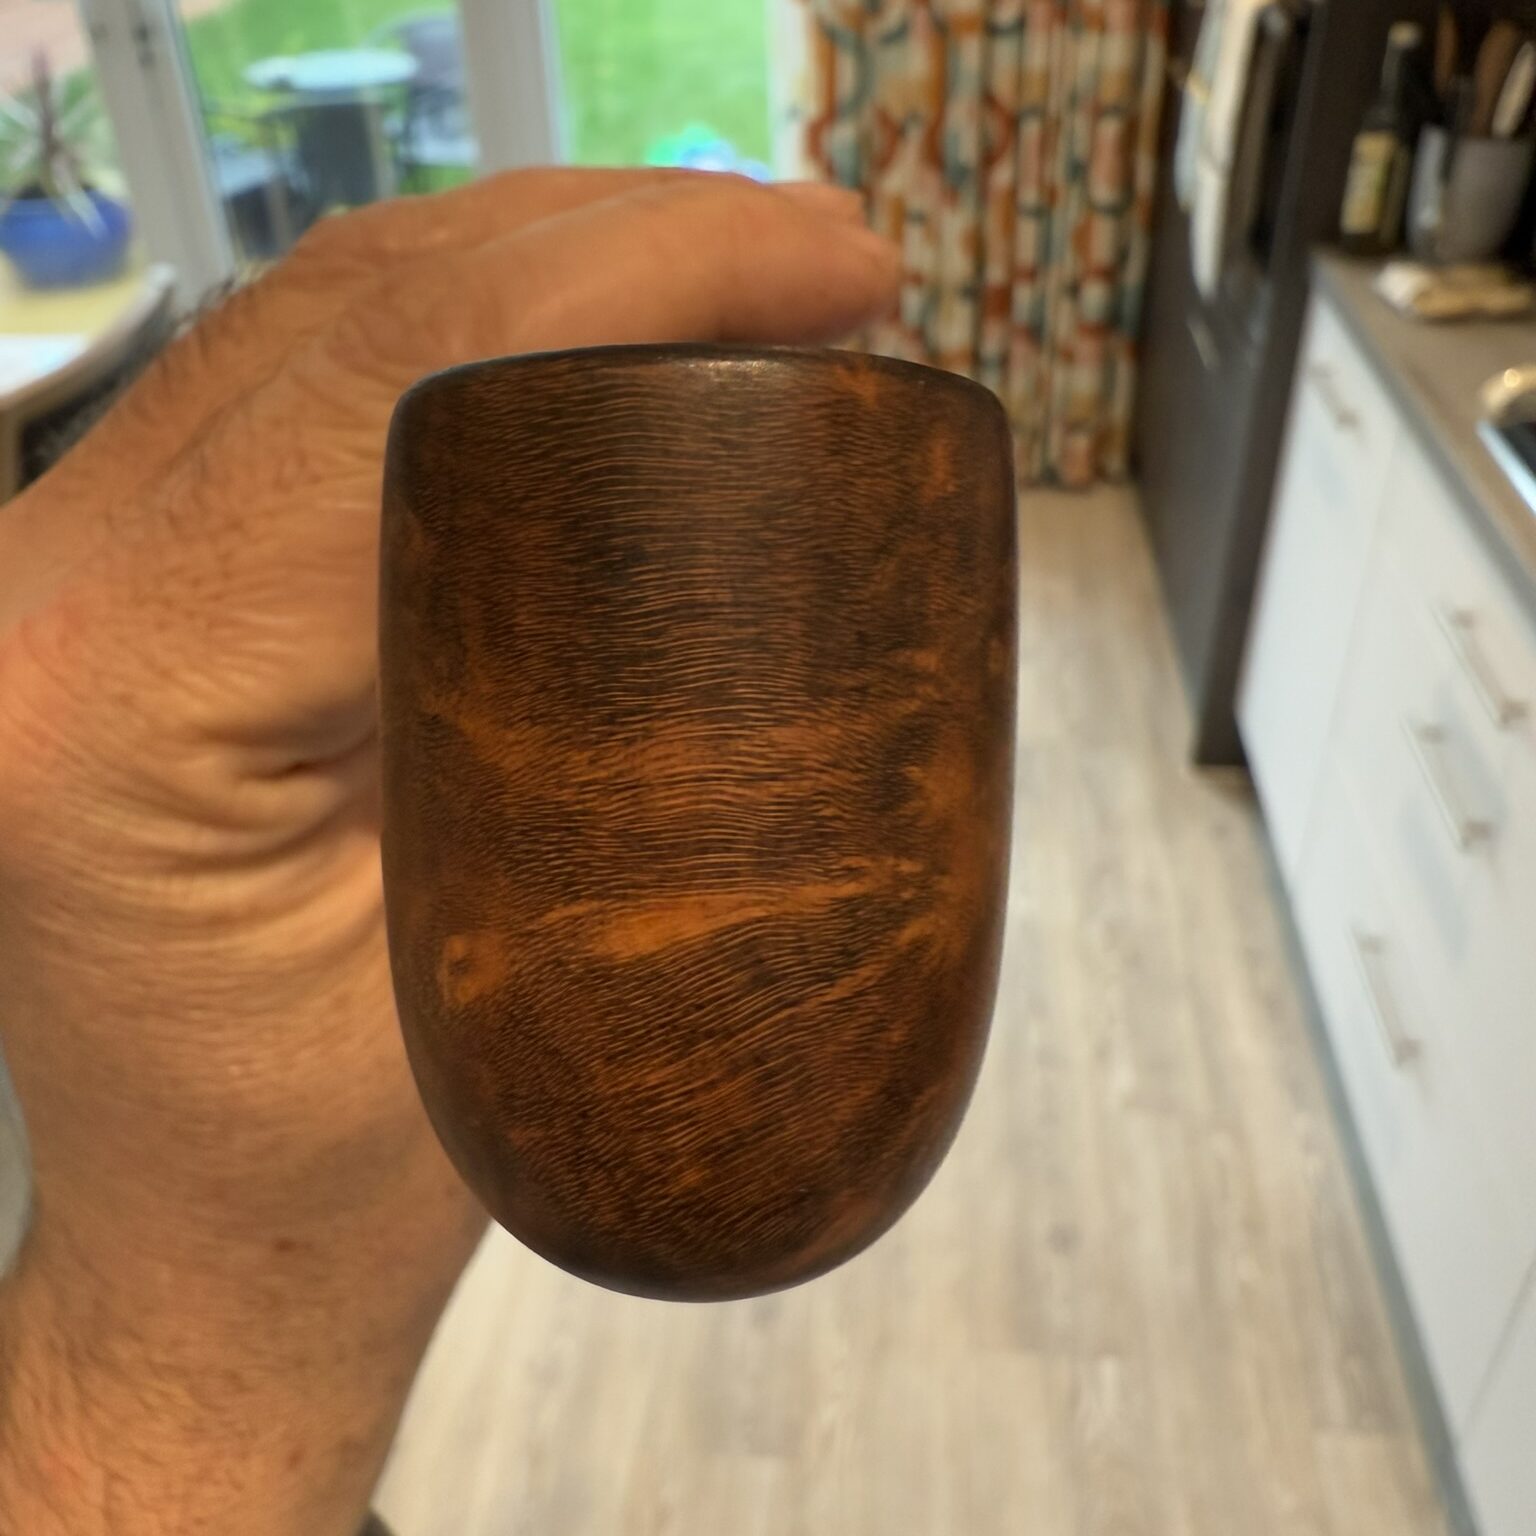
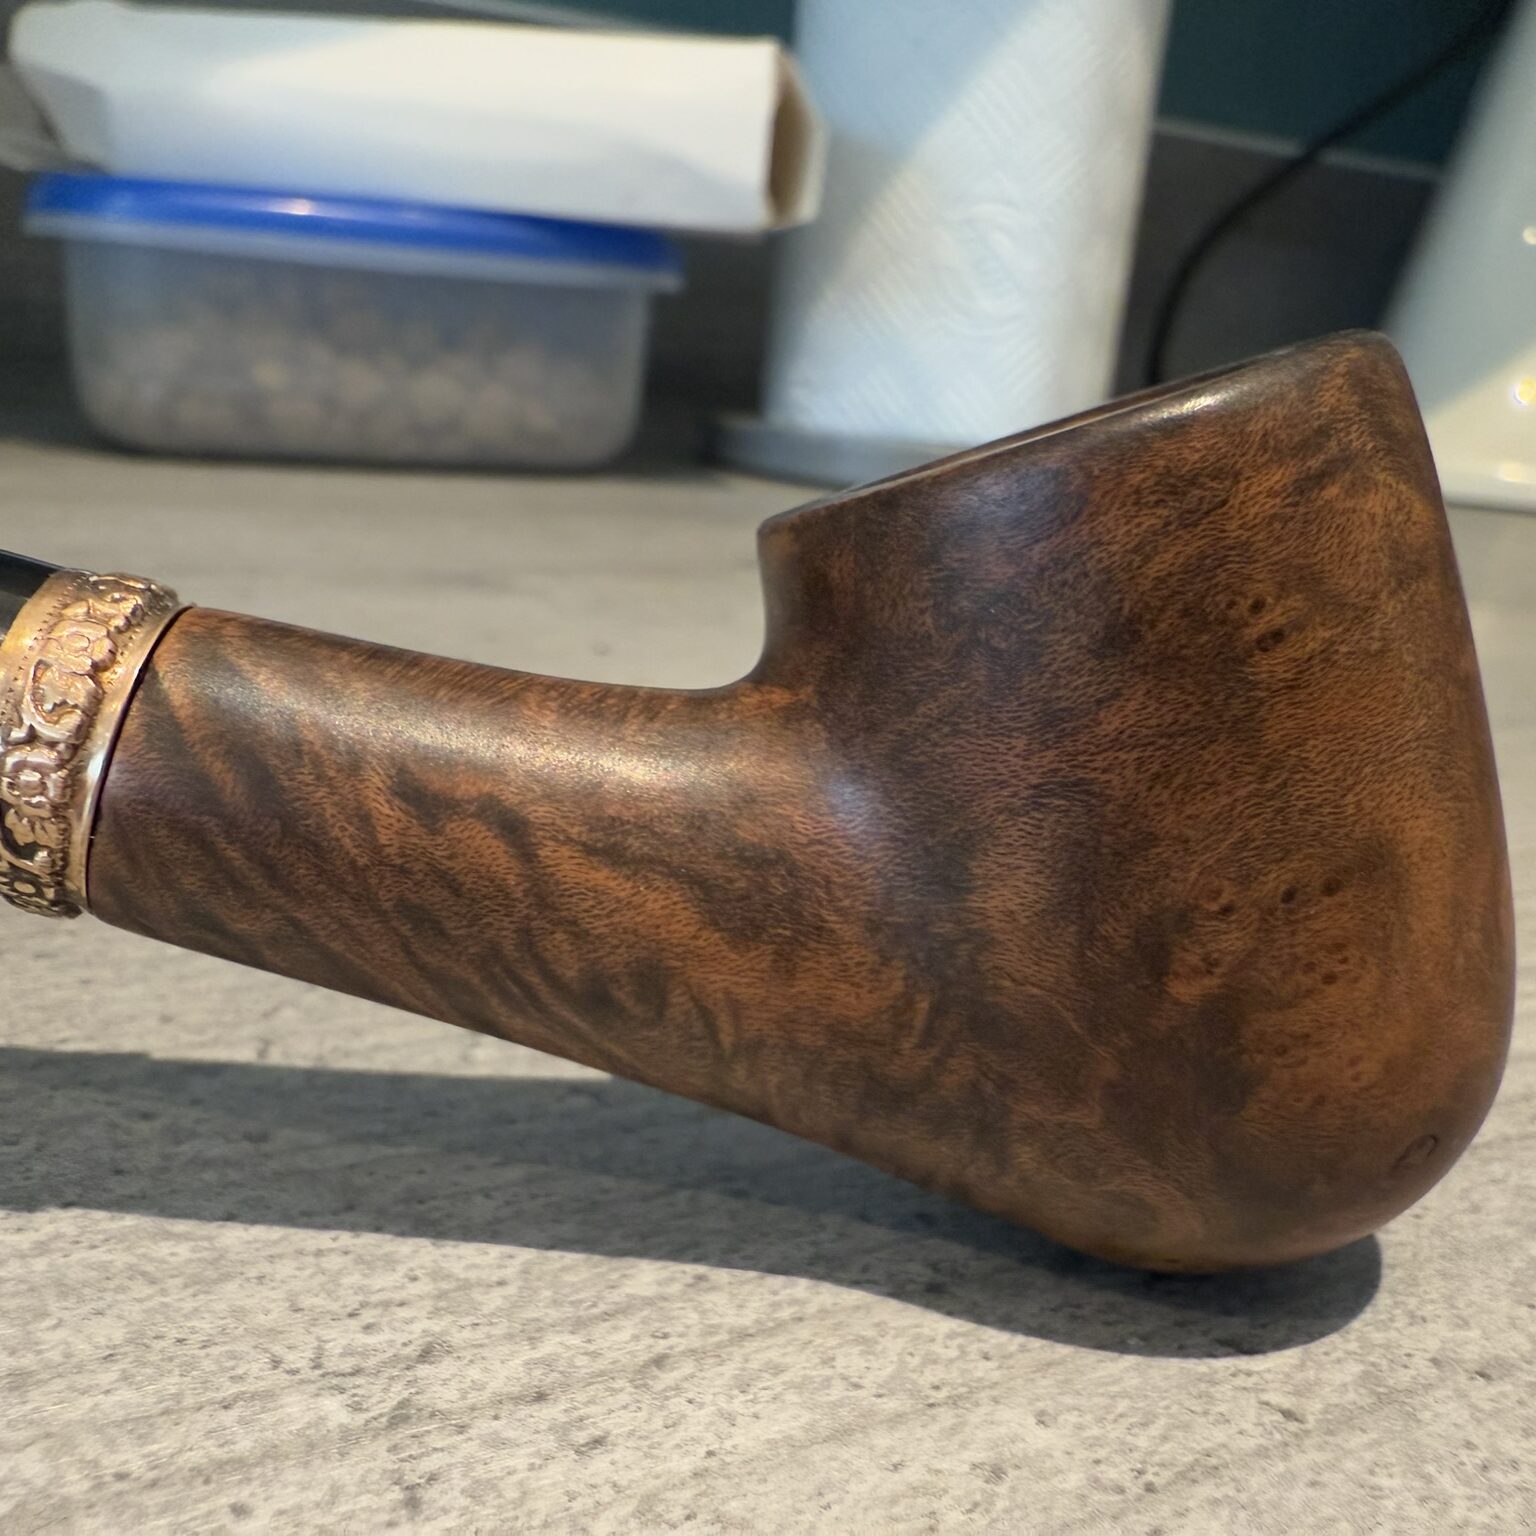
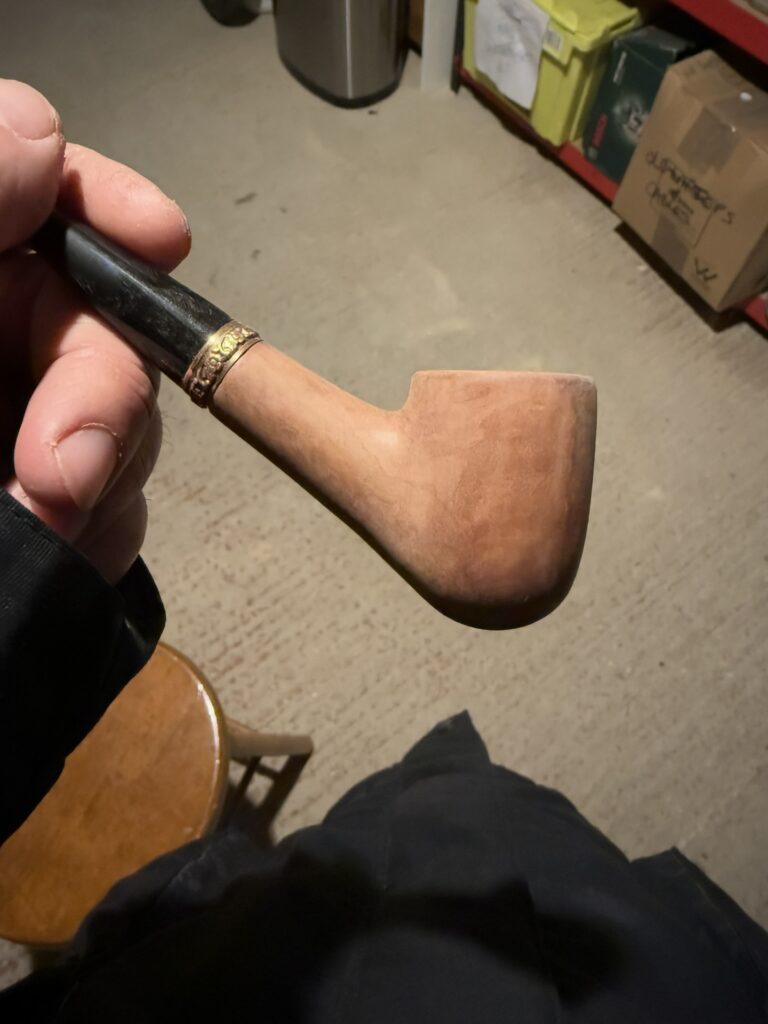
The final product
Leave a Reply